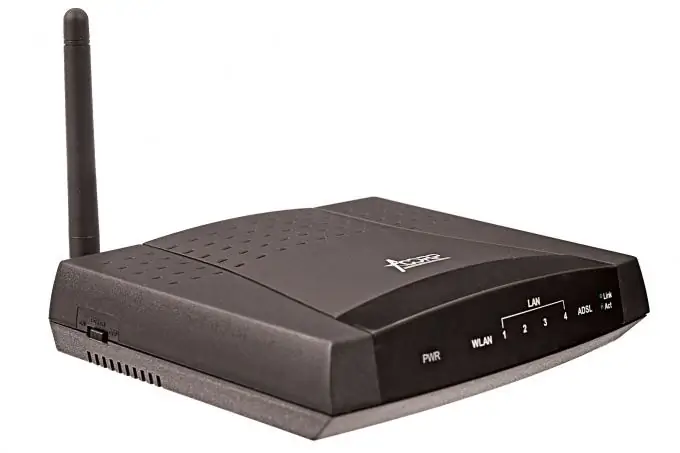
In a situation where you need to create a home local area network with Internet access, and your provider provides DSL Internet services, it is recommended to use ADSL modems with Wi-Fi support.

Necessary
network cable
Instructions
Step 1
First select the appropriate ADSL modem. Find out what types of wireless networks your laptops work with. Make sure the selected modem supports DHCP and NAT functionality. Purchase a device and install it in your apartment. In this case it will be an Acorp ADSL modem.
Step 2
Connect your ADSL modem to AC power. Now, through the splitter, connect the modem to the telephone line. For this purpose, use the DSL connector located on the equipment chassis. Connect the computer's network adapter to any Ethernet (LAN) connector. To make this connection, you need a network cable.
Step 3
Turn on the selected computer and launch an Internet browser. Fill in its address bar with the following address: https://192.168.1.1. Press the Enter key
Step 4
After entering the ADSL modem settings menu, go to the Setup item. Select the New Connection option and go to the Type menu. Specify PPPoE data transmission type. Enter an arbitrary network name. Set VPI and VCI to 1 and 50 respectively. In the Authentication item, specify the Auto parameter. Now check the boxes next to the following items: NAT, Default Getaway, Firewall. Click the Apply button to apply the connection parameters.
Step 5
Now go to the Setup menu and select Wireless Connect. Configure the settings of the wireless access point by specifying the data transfer type, encryption option, and setting a password for accessing the wireless network. Click the Apply button to save the data. Reboot your ADSL modem.
Step 6
Turn on the device, enter the setting interface and open the Status menu. Make sure you are connected to the Internet and the wireless network is active. Connect laptops to a wireless access point and desktop computers to the LAN (Ehternet) connectors of the modem.


