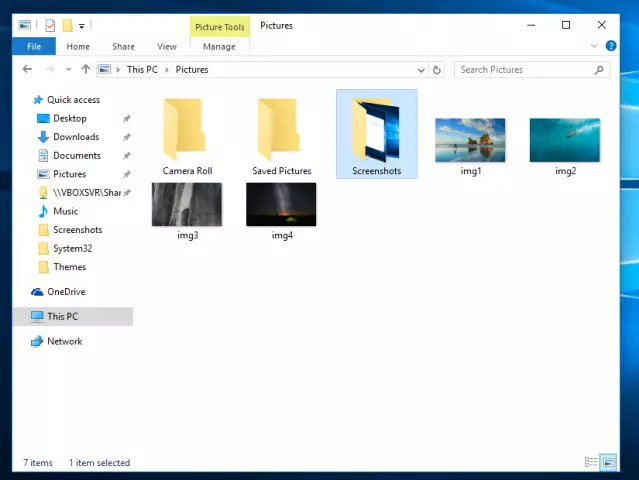
From time to time, every computer user needs to "photograph" the contents of his laptop screen. This is done quickly and easily, and the result is the desired photo.
Instructions
Step 1
To take a screenshot of your laptop screen, you only need to press one key on the keyboard. The key is located in the upper right corner of any keyboard - be it a laptop or a regular computer. This key contains several incomprehensible letters PrtSc SysRq, and since you are interested in a screenshot of the screen, you should know that PrtScr is an abbreviation for English. Print screen, which literally means "screen print".
Step 2
By pressing the PrtScr SysRq key, you will place the contents of the screen in the operating system clipboard, and you will only have to save it as an image file.
Step 3
To do this, open any graphics editor - Paint, Photoshop, Microsoft Office Picture Manager, Picasa, etc. Create a new picture by pressing Ctrl + N or choosing File - New from the menu and press Ctrl + V or from the Edit menu - Paste. You will see how the screenshot you took will appear on the screen. Now you can cut out the part of the image you need, or save the screenshot as it is. To do this, press Shift + Ctrl + S or in the File menu - Save as. Name your screenshot and save it as a photo in the desired location on your hard drive.


