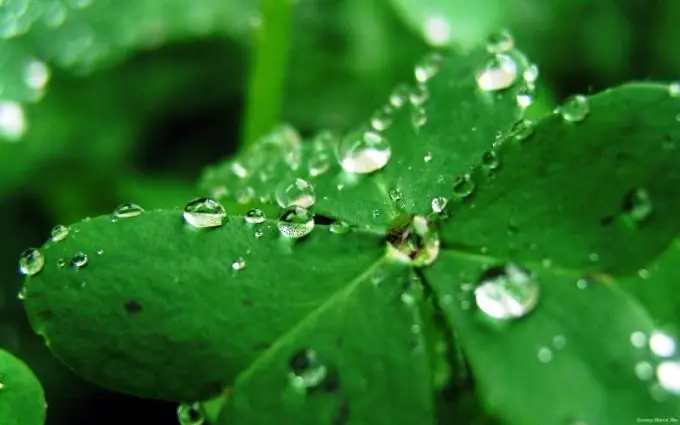
If you want to master the splatter drop effect in Photoshop, there are some subtleties you need to know. The result of the work will be an image similar to that if the picture was taken, say, during heavy rain. Also, this effect will look good against the background of an approximate sea surf.

Necessary
Adobe Photoshop program
Instructions
Step 1
Before starting work, choose a photo that can serve as a suitable background for the effect. A good option would be to choose a photo of a forest when the weather is not too pronounced, or better if the weather in the image is cloudy. Then, when the background image is already there, create a new layer - Ctrl + Shift + N and make sure that the foreground and background colors are set to their default (black and white, respectively). If not, the D key will resolve this issue.
Step 2
Apply the Filter -> Render -> Clouds filter to the created layer, as well as the Filter -> Stylize -> Find Edges filter and set the automatic level adjustment by pressing the Ctrl + Shift + L keyboard shortcut. After that add filter Filter -> Sketch -> Plaster as well. Experiment here with the Image Balance settings (values from 38 to 42 are acceptable) and Smoothness (preferably 5-15). Next, for the clarity of the drops, apply the Filter -> Sharpen -> Unsharp mask with the values: Amount = 500%, Radius = 1, 0
Step 3
After the basic necessary filters have already been applied, take the Magic Wand tool, activate the Contiguous option in its settings and click on the black background of the resulting image. Delete the resulting selection by pressing the Delete key, then deselect the remaining selection on the drops by pressing Ctrl + D. Then set the blending mode to Soft Light on the layer with the manipulations. Now, in order to make the drops more realistic, do the following: select the drops by clicking on the layer with them, holding down the Ctrl key, then go to the background layer and apply the Filter -> Distort -> Spherize filter to it with an Amount value of 18-20% and Normal mode. Remove the selection by pressing Ctrl + D - the picture is ready.


