When hardware issues arise, updating the BIOS of your computer or laptop motherboard is a typical troubleshooting step. It eliminates software problems and allows you to focus on any hardware problem.

The latest version of bios uefi can be flashed from both bios and Windows. Most often, bios is updated from under Windows, which is not always the right way, since it is best to flash from dos mode, of course.
- Updating bios to a new uefi using the built-in utility on the example of a Gigabyte motherboard is possible using the Q-Flash program, which is launched by pressing the F8 key. It is indicated in the lower left corner of the screen.
- When you try to run the Q-Flash utility using F8 with a USB flash drive connected with a new uefi, you must select the Update bios from Drive item.
- Then select Z68. U1D. As a result, nothing happened, on the screen we will see the BIOS ID check error. How to get around this whole thing and how to flash from under dos safely, without using Windows? Still, it is not very safe to flash from under Windows and it is better to do this using a bootable USB flash drive. This is what we will do with you.
Preparing to create a bootable USB drive
-
We go to the official site of the Gigabyte motherboard.

Image - In the menu, select the item "Products", "Motherboards".
- Next, we select our socket "Socket 1155".
- Next, we select our Z68 chipset.
- Then we select the name of our motherboard "GA-Z68A-D3-83".
- Next, a page opens on the site with the version of the motherboard, at the bottom of the page, click on the "Download" button and download the uefi bios.
- In the "Boot Type" list, select the bios option.
- In the generated list, select u1b (uefi bios) and download bios from the link on the right.
- After we have downloaded it, we will need to unpack it from the archive, initially they will be packed in the archive.
- After unpacking, three files will appear: autoexec.bat, FLASHEFI. EXE, Z68AD3H. U1d.
How do I update uefi?
- Let's create a bootable USB flash drive for updating bios uefi. To do this, insert a regular USB flash drive into the computer, launch the HP USB Disk Storage Tool.
- To format the flash drive in the Device list, select our flash drive.
- In the File System list, select the FAT value.
- Next, put a tick in the Quick Format option.
- Also check the Create a dos startup disk checkbox. The last option allows you to specify the path to the folder for updating from under dos.
- For this path, you must first download another set of Win98Boot files. It contains a list of system dos files.
- This list is needed to specify the path under the Create a dos startup disk checkbox.
- After all the settings, click on the Start button.
- Formatting in progress, takes some time.
- After formatting is complete, you need to copy the three files of the bios itself, which I have already mentioned, to the USB flash drive.
- Now, in fact, we can boot from this flash drive and start the bios update process.
-
To check, we restart our computer, select the boot device and boot from under the USB flash drive. Everything happens fully automatically, we don't need to touch anything with our hands.

Image - After completing the flashing bios, you must completely turn off the computer.
- After waiting for a while, you must re-enable it
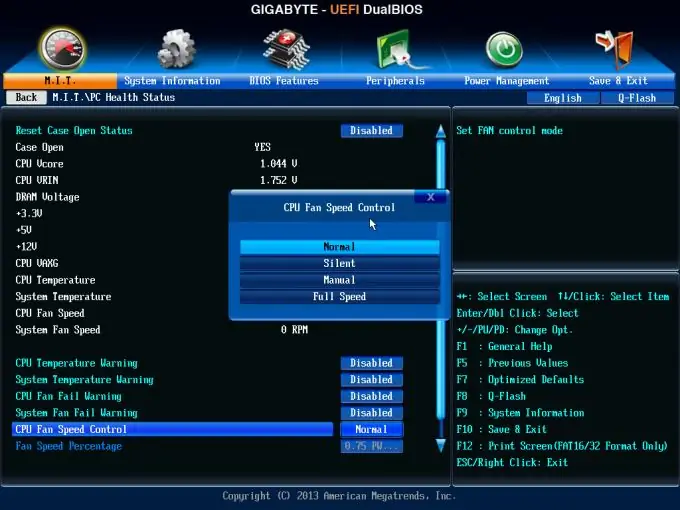
- After turning on, the Gigabyte uefi bios opens in front of us, then you need to reboot.
Now we have a new bios that allows us to support hard drives larger than two terabytes, allows us to speed up the loading of the operating system even on ordinary hard drives, and allows us to run some programs and applications without an operating system.


