Sometimes there are cases when, when transferring zipped files using e-mail or file hosting services, they cannot be opened, a message appears that the archive is damaged. In this case, you need to restore it using the archiver or special programs.

Necessary
- - computer with Internet access;
- - Winrar.
Instructions
Step 1
Run Winrar to repair the damaged archive. Navigate to the folder it contains using the built-in explorer. Select the required archive, right-click on its name, or select the Restore Archive command from the Operations menu. You can also start rar archive recovery with the Alt + R key combination.
Step 2
A window will appear in which you specify the folder where the restored archive is located, and also select its format (rar or zip). Set the necessary parameters for recovering the rar archive, click the "OK" button. The recovery time will depend primarily on the size of the archive file being restored.
Step 3
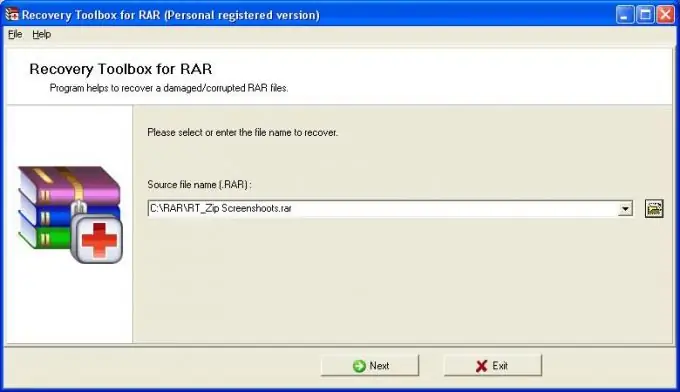
Download a special utility for recovering archive files if it was not possible with Winrar. To do this, copy the link to the address bar of your browser https://www.recoverytoolbox.com/download/RecoveryToolboxForRARInstall.exe. The program must be registered to be able to save the recovered files. Demo mode will only allow you to analyze files in a damaged archive
Step 4
Install and run Recovery Toolbox for RAR, a program window appears, in which you need to select a file to recover, to do this, click the button with the image of an open folder, select the damaged archive in the window, click "OK". The file will be added to the program, click Next. Next, the analysis and scanning of files in the archive will be launched. In the next window, mark the files from the list to be scanned, click Next.
Step 5
Notice the color of the exclamation file next to the file name. If it is red, then the file cannot be restored, and if it is blue, then the file will be restored without errors. In the next window, select the folder where you want to place the recovered files and click "OK".


