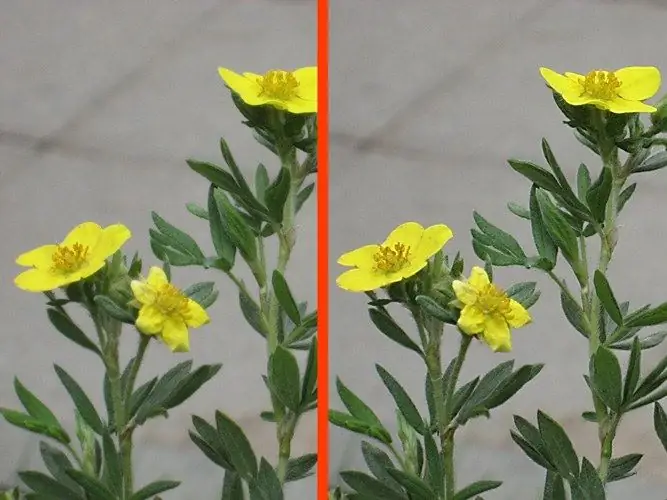
A photo that is not sharp can be corrected using Photoshop tools. For correction, filters of the Sharpen group, image brightness channel processing and a High Pass filter are suitable.

Necessary
- - Photoshop program;
- - Photo.
Instructions
Step 1
Load the image to be corrected in Photoshop and use Ctrl + J to duplicate the photo layer. Filters of the Sharpen group can only be applied to the image layer. Processing with their help a copy of the picture will allow you to adjust the degree of correction after changing the photo.
Step 2
The Unsharp Mask filter is suitable for sharpening the image. The option to open its settings window is in the Sharpen group of the Filter menu. If you want to separately adjust the sharpness parameters for shadows and highlights, use the Smart Sharpen filter by turning on the Advanced option in the settings. Smart Sharpen opens with an option located in the same group as Unsharp Mask.
Step 3
Filters that increase the sharpness of the image can be applied not only to the layers of the document, but also to individual channels. One of the most effective ways to process images is to sharpen the luminance channel. To apply this method, use the Lab option in the Mode group of the Image menu to change the color mode of the image from RGB to Lab.
Step 4
Use the Channels option of the Window menu to expand the Channels palette and apply an Unsharp Mask filter to the Lightness channel. By clicking on the Lab channel, you can see the result of the correction in color.
Step 5
To sharpen the High Pass filter, you need to create a copy of the original layer and overlay it on the background image in Overlay mode. You can also change the blending mode of layers after applying the filter, but if you do this in advance, you will be able to evaluate the result of the filter while adjusting it.
Step 6
To prevent colored halos around objects in the picture, apply the Desaturate option in the Adjustments group of the Image menu to the copy of the photo. Use the High Pass option in the Other group of the Filter menu to open the settings window and adjust the filter radius.
Step 7
You can decrease the amount of image correction. In order to do this with the whole image, change the value of the Opacity parameter for the edited layer. If you need to remove excess sharpness only from certain areas of the image, add a mask to the processed image by clicking on the Add layer mask button. Set the color 000000 as the main color and paint over the overly sharp parts using the Brush tool on the mask.
Step 8
If you are going to save a photo edited in Lab to a.jpg"


