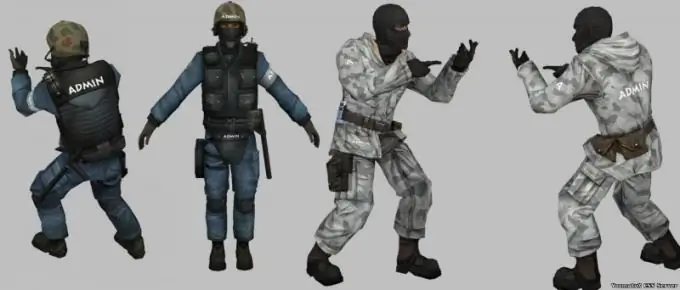
If you have installed your own game server for Counter Strike, you can install your own skins on it to change the appearance of the characters. On the Internet, you can find a variety of skins available for free download.

Necessary
- - computer;
- - CS server.
Instructions
Step 1
Open the game server folder to prepare the installation on the server, go to the Server / cstrike directory, then open the / cfg / mani_admin_plugin folder, create a new folder named Skins in it. Next, go to it to complete the installation of skins. Create two new folders in it named Admin_Ct and Admin_t. Create two text documents with similar names.
Step 2
Install the skin on the server, for this download the archive with the skin of your choice, for example, from the site https://css-pro.ru/load/vse_dlja_serverov_css_i_srcds/skiny_igrokov_i_adminov/19. Copy it to your server folder. Open the instruction file from the archive. It must contain the path to the skin.
Step 3
Create a skull.txt file in the server folder Server / cstrike / cfg / mani_admin_plugin / skins / admin_t or admin_ct (depending on who you are installing the skin for). Write the paths to the skin in this file, they can be found in the file with instructions. Next, go to the Server / cstrike / cfg / mani_admin_plugin / skins folder, write the following in the text files you created: "Skin name" skull.txt.
Step 4
Follow the next step to enable the installation of skins on the game server. Go to the server / cstrike / cfg folder, open the mani_server.cfg file with Notepad. Find the line mani_skins_admin and set it to 1 to enable the selection of a skin when entering a command. To enable the option to download skins for clients, set the value to 1 in the mani_skins_auto_download parameter.
Step 5
Unpack the downloaded archive with the skin to install it on your server, copy the materials, cfg, models folders from it to the cstrike folder on your server with a replacement. Open the mani_server.cfg file, find the mani_skins_public line in it and write in the value 1 to set the players' access to shared skins. To use skins on the server for bots, set 1 in the mani_skins_random_bot_skins parameter. The installation of the skin on the server is now complete.


