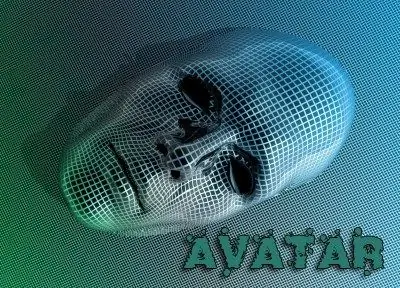
The user can design his avatar the way he likes best. It can be not only a picture, photograph, but also text or text combined with an image. To make an inscription on the avatar, you must use a graphic editor.

Instructions
Step 1
Launch a graphics program such as Adobe Photoshop (although any application that has a Text tool will work as well). Open an image that will be used as an avatar. If necessary, reduce or increase the size of the picture.
Step 2
Remember that all sites have a size limit for the uploaded image. It is better to adjust the height and width of the avatar at the very beginning, and not when the text has already been entered, otherwise the letters may look blurry and indistinct. To set the desired aspect ratio for the image, use the Image Size command from the Image menu.
Step 3
A new dialog box will open, set the appropriate values in the required fields. You can adjust the height separately, separately - the width of the picture, or put a marker in the "Maintain proportions" field. Then you will need to enter a value for only one parameter, the second will change automatically.
Step 4
Then you can start entering text. Select the Horizontal Type tool from the panel. It looks like a button with the Latin letter "T". Or use the hotkey - also the Latin "T". The cursor will change its appearance.
Step 5
Place it where you will start entering text on the image. Place your decal. If necessary, add various effects, change the layer style, size of letters, their color, or choose a new font.
Step 6
To position the text in a circle or otherwise deform it, click on the button in the form of the letter "T" above the curved line. A new window will open, select a warp style in it and adjust the position of the text using the sliders.
Step 7
After the text is entered, right-click on the layer with the caption and select the command "Rasterize Text", merge all the layers and save the image. Upload it to the site using the appropriate form.


