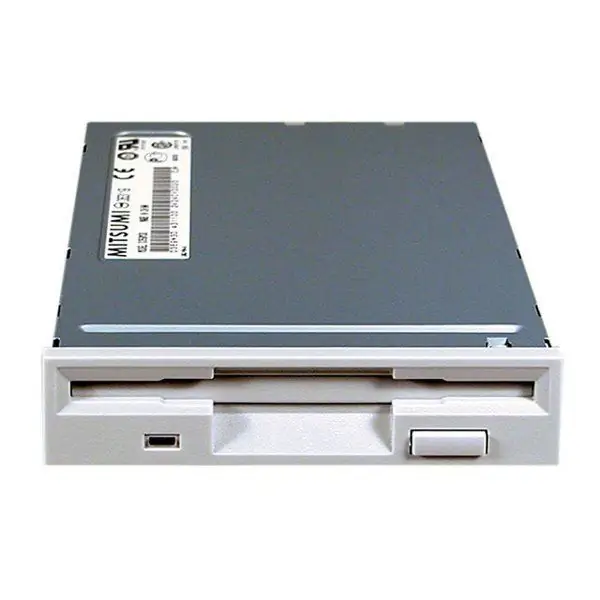
A floppy drive is not only unlikely to ever be useful to you again (most companies have already discontinued 3.5-inch floppy disks), but it also makes a lot of noise at startup. It is no longer installed on new system units, but most of the old ones still have it. If you are tired of its boot noise or want to get rid of it for some other reason without breaking the front panel of the case, you can easily turn it off.

Necessary
Floppy drive
Instructions
Step 1
The easiest way is to open the cover and disconnect all wires connected to it. But the problem is that some systems continue to see "Drive A" or do not boot, requiring it to be present (in cases where the boot starts from it).
Step 2
A more complex but more efficient way is to disable it through the BIOS. To get there, you need to press the "delete" button at the beginning of the download. The appeared blue screen is the BIOS cover. Use the arrow keys to select Standard CMOS Features and press enter.
Step 3
In the menu that opens, you will see the item "Drive A" (or some similar name). Select the "none" value opposite it and return to where you came from, that is, to the main menu. There click on Save & Exit Setup and hit enter. A reboot will begin, but with the floppy disabled.


