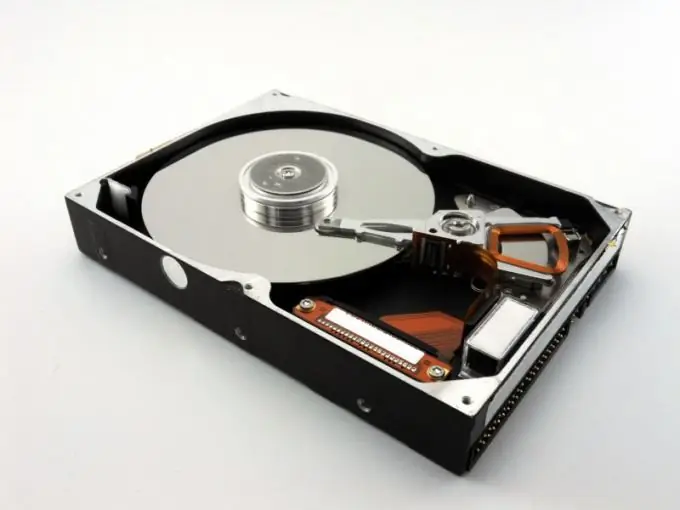
The creation of additional partitions on the hard disk allows you to install several operating systems at once. In addition, new partitions are created to separate system files from secondary resources.

Necessary
- - Partition Manager;
- - Windows Vista installation disc.
Instructions
Step 1
There are two main methods for creating new partitions when working with Windows Vista. The first is used when installing this OS, and the second is used after performing this procedure. If you are just planning to install the system, use the first method. Insert the disc into the drive and run Windows Vista Setup.
Step 2
Follow the step-by-step menu and wait for the list of connected hard drives and their partitions to appear. With the left mouse button, select the hard disk that needs to be divided into parts, and click the "Delete" button. Remember that all information from this hard drive will be erased.
Step 3
Now click the "Create" button and set the parameters for the new section. Specify the file system type and volume size. Create one or more sections in the same way. Select the one on which Vista will be installed and click the "Next" button.
Step 4
If you need to create a new partition after installing the system, use the Partition Manager program. Install it and restart your computer. This procedure is necessary to collect information about the hard drives used. Start Partition Manager.
Step 5
Select the "Wizard" tab and go to the "Create Section" item. Check the box next to Advanced Mode. Click "Next". Select the zone in which the new disk partition will be located and click "Next" again.
Step 6
Set the size of the new volume by moving the slider to the desired value. Check the box next to Create as Logical Drive. Click "Next".
Step 7
Select the file system type for the new volume from the available options. Specify the drive letter and click Next and then Finish. After returning to the main menu of the utility, click the "Apply pending changes" button and confirm the start of the disk partitioning process.


