Even the most modern computer becomes very obsolete after a few years. Its characteristics can be improved by replacing some components - for example, a processor. It is quite possible to change the processor on your own, just following fairly simple instructions.

Instructions
Step 1
Find out what types of processors are supported by your computer motherboard and purchase a processor from this list. When buying a processor, do not choose the latest models - as a rule, they are greatly overpriced. Get a tube of heat transfer paste as well.
Step 2
Disconnect your computer from the network. Remove both side covers from the system unit by unscrewing the screws that secure them. Disconnect the cooler connector from the system board. If you see that some loops will interfere with the work, disconnect them too, having previously memorized or sketched their initial position.
Step 3
Now you need to remove the heatsink with the cooler attached to the processor. The heatsink is secured with plastic clips; their design may differ on different motherboards. In some cases, to remove the heatsink, you need to squeeze the ends of the latches on the back of the board and push them out of the holes.
Step 4
Do not use force when removing the heatsink - it may just stick to the processor on dried heat-conducting paste. Without connecting the cooler connector, turn on the computer for a couple of minutes. The processor heats up, and after disconnecting the computer from the network, the heatsink can be easily removed from it.
Step 5
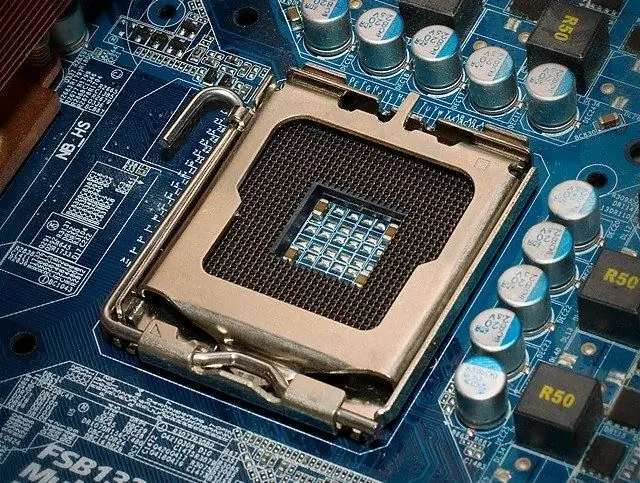
Lay the system unit on its side. To release the processor, you need to lift the lever next to it, this may require some effort. After that, you can easily remove the chip from the socket. Replace with a new processor, no effort should be made to install. The processor must fit exactly into the socket and be absolutely level. After making sure that it is correctly positioned, press down again with the lever. This can take quite a lot of effort.
Step 6
Inspect the radiator, clean it from dust and traces of old heat-conducting paste. Apply a pea-sized drop of thermal paste to the center of the processor body. Gently place the radiator, move it slightly to the sides and press firmly until the latches lock. There are other options for applying thermal paste - for example, with a few small drops. Sometimes the grease is smeared over the surface of the processor case with a plastic card, like a spatula.
Step 7
The processor and heatsink are installed, you just plug in all the connectors, close the side panels of the case and turn on the computer. It may be necessary to set the BIOS settings necessary for this processor in order for it to work at the required frequency.


