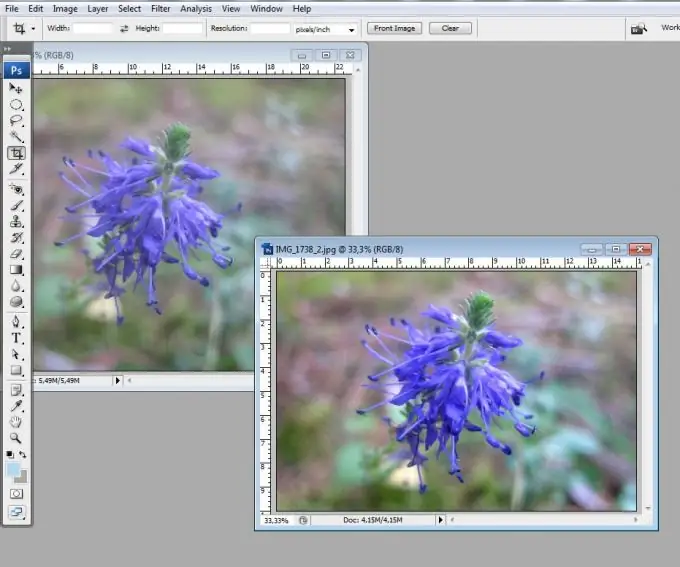
Often, even the photos that you think are good are lacking in saturation. This is especially noticeable when printing - after all, the LCD monitor shows the image more vividly than ink and paper can do. This is a common problem, but it is quite fixable with Photoshop or another graphics editor similar to it.

Necessary
- - Graphic editor Adobe Photoshop
- - Photo for correction
Instructions
Step 1
Open the photo in the graphics editor Adobe Photoshop using the "File - Open" menu, or the keyboard shortcut Ctrl + O. Crop your photo if necessary.
Step 2
Often photographs lack contrast in the first place. Sometimes this is not immediately clear: at first glance, the photo looks normal. But once you open the "Levels" dialog box, the true state of affairs becomes clear. This window is invoked by the shortcut Ctrl + L, or through the menu "Image - Adjustments - Levels".
Step 3
Pay attention to the diagram that you see in the dialog box. Free spaces between its edges and the edges of the dialog box are a sign of insufficient contrast in the photo. Move the black and white markers closer to the middle, watching how the photo changes. As you can see, the photo has become more contrast and saturated. But don't overdo it, keep the colors natural.
Step 4
In some cases, adjusting the levels is sufficient to give the photo more expressive colors. If you want to add more saturation, refer to the menu item "Image - Adjustments - Hue / Saturation". It can also be invoked by pressing the Ctrl + U keys.
Step 5
Move the slider to the right, which is responsible for the saturation value of the photo. Watch how the photo changes. When the colors are saturated but still natural, click OK. If you want to adjust the saturation of a particular color channel, select it from the list at the top of the dialog box. Usually the default mode is “Master”. In the same window, you can adjust the hue of the photo (by moving the "Hue" slider), and its brightness ("Lightness").
Step 6
Save the corrected photo using the "File - Save as" menu item.


