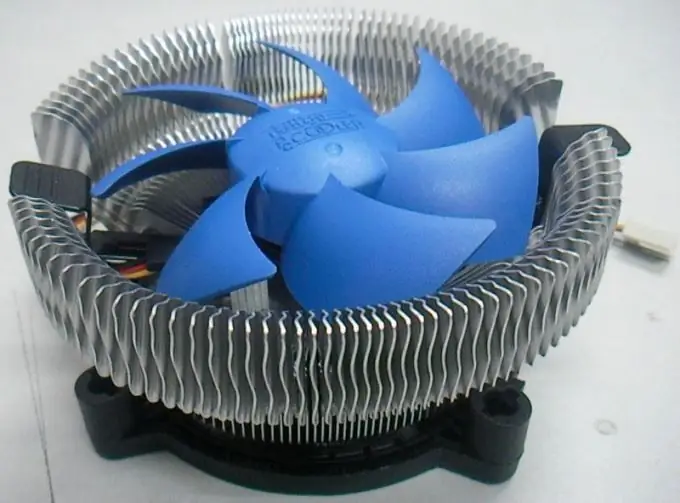
Cooling of some devices that make up a personal computer is provided by special fans. Maintaining a certain temperature level is necessary to prevent the failure of such important elements as the central processor and video card.

Necessary
Speed Fan
Instructions
Step 1
Install the SpeedFan software to assess the status of certain devices. Run this utility and find out the temperature of the required elements. In the middle of the Readings menu, there are readings of temperature sensors installed in the computer case. The device, whose temperature exceeds the recommended standards, will be marked with a special symbol.
Step 2
At the bottom of the menu there are items that allow you to control the rotation speed of certain coolers. Select the fan that is connected to the desired equipment. Enter the number 100 in the field opposite the cooler name. This will activate the maximum rotation speed of the fan blades.
Step 3
Adjust the parameters of other coolers in the same way, if necessary. Wait until a stable temperature of the devices is established. If the readings are still above the recommended values, then clean and lubricate the fans.
Step 4
Sometimes the reason for poor-quality cooling is a strong contamination of the cooler. Unplug the computer from AC power and remove the left side panel from the chassis. Find the cooler you need and unplug the power cable from the motherboard. Remove the fan from the device to which it is attached.
Step 5
Clean the fan blades using cotton swabs or discs. Soak them in an alcohol solution beforehand. Peel off the sticker that is located in the center of the axis of rotation of the blades. Put some machine oil or other grease into the opening that opens. Replace the decal. It prevents dust from entering the cooler rotation axis.
Step 6
Place the fan on the equipment and check that the fan blades rotate freely. Use the same method to clean and lubricate the rest of the coolers. Turn on the computer and check the readings of the sensors.


