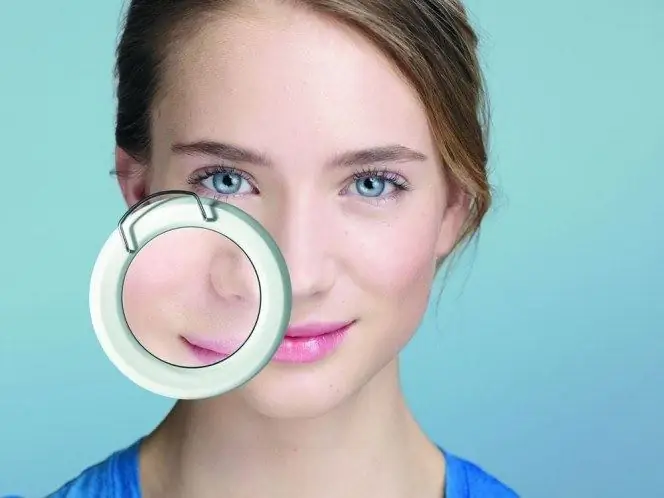
Each photo is an imprint of a lived moment, a memory. Should you destroy or hide a generally successful photo if you have a pimple on your face? Of course no. It is very easy to eliminate skin imperfections with the help of Photoshop.

Method one - stamp
Load the photo into Photoshop, enlarge the image of the area in need of adjustment. A tool suitable for removing minor skin imperfections such as acne is called a "stamp", you can select it in the left menu of the work panel or by pressing the S key on the keyboard.
Adjust the brush diameter slightly larger than the defect size. Choose an area of clear skin that best matches the color and texture. Hold down the Alt key, move the cursor over the selected area and fix the selection by pressing the left mouse button. Release the key.
Move the cursor to the area to be retouched and click the left mouse button again. If the fragment to overlap was chosen successfully, then not a trace will remain in the place of the pimple. If the skin tone in the editable area is unnatural, try increasing or decreasing the opacity of the brush.
Method two - patch
A tool for correcting large defects or irregularly shaped flaws is called a "patch", in the English version of the program it corresponds to the Patch tool button. You can also activate this tool by pressing the letter J on your keyboard.
The principle of the patch is in combining the functions of the "lasso" and "stamp" tools. Circle the area of the defect, closing the selection. Drag the selection to a location with a similar color and texture. Moving the selection area, you will see that the defect begins to disappear and disappear. When the result is completely satisfactory to you, click the left mouse button to commit the correction.
The convenience of this method is that the program itself will smooth out the edges and adjust the color and texture of the corrected area to the surrounding background. You don't need to apply blur filters to hide the transition between areas.
This will make your photo look more natural. In this way, you can remove not only acne from the photo, but also scars, erase tattoos and hide inflammation.
Method three - point correction
Removing very small skin imperfections can be easily handled by the Healing Brush Tool, in the English version it is called the Healing Brush Tool. It is also called a "plaster" or "cosmetic bag".
Working with the Healing Brush is very simple. Choose a brush size 20% larger than the skin defect. Click the active tool on the pimple. Everything. The program will do the rest automatically, adjusting the color and texture of the marked area to the parameters of the background around the defect.


