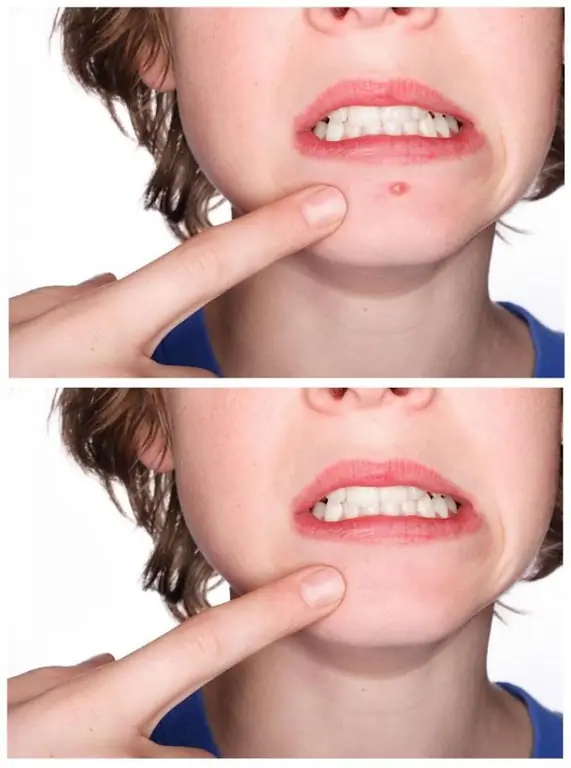
Unfortunately, even the best photo can be ruined by bad skin, namely acne. But Adobe Photoshop 8 will come to the rescue, in which, especially for such cases, the Healing Brush tool (with the image of a plaster) is provided.

Instructions
Step 1
First you need to make sure that Adobe Photoshop 8 is installed on your computer. If not, you can purchase it or download it on the Internet. Open the photo in the program and select the Healing Brush tool.
Step 2
The principle of operation is that you copy a piece of the image (with even skin) and transfer it to the problem area. The edges and color, however, blend in with the place where you put the patch. Right-click and choose a convenient brush diameter. Next, place the cursor on the area with clean skin and click on it with the mouse while holding down the alt="Image" key on your keyboard. For the best effect, choose a place that is similar in structure to the skin around the pimple.
Step 3
Now move the cursor to the problem area and click on it. The pimple has disappeared! If you need to correct a large area, then drive over it, holding the left mouse button. In this case, not only the circle that you selected will be transferred, but also the image around it.
Step 4
If something went wrong and it turned out even worse than it was - it's easy to return everything as it was. There are several ways: 1. Close the photo by answering “No” to the offer to save the image. This method is not suitable if you have made any other changes that you would like to keep. 2. Click the Edit> Step Backward menu. It is worth doing this as many times as you want to undo. This way you can only delete the most recent activities. 3. Select the "History Brush" tool and click on the place that you want to restore to its original appearance. This method is probably the most appropriate in any situation.


