The life of adolescents is so intense! Friends, meetings, fun, photos. I really want to capture so many awesome moments, but I really don't want to see those terrible pimples on my face later. And as a result, all the photographs taken are stored in the darkest corners of the computer. You can, of course, hide the pictures further, up to 20 years, until the acne disappears on its own. But it turns out that any teenager and in general everyone with skin problems can very easily and simply clean up their face right now. Moreover, you can also please your comrades by making their faces cleaner and more attractive.

Necessary
Adobe Photoshop photography
Instructions
Step 1
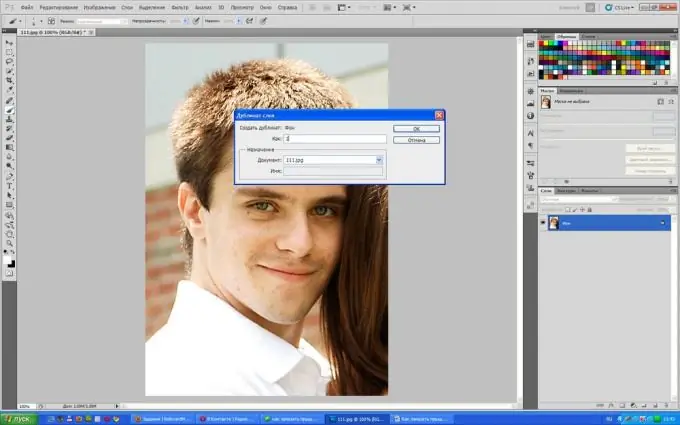
Open the photo with Adobe Photoshop. Duplicate the layer: right-click on the "background" layer and select "duplicate layer" from the menu that appears. A window will appear in front of you. In this window in the field "how to write" 1. We will work with this layer so that later we can compare it with the original.

Step 2
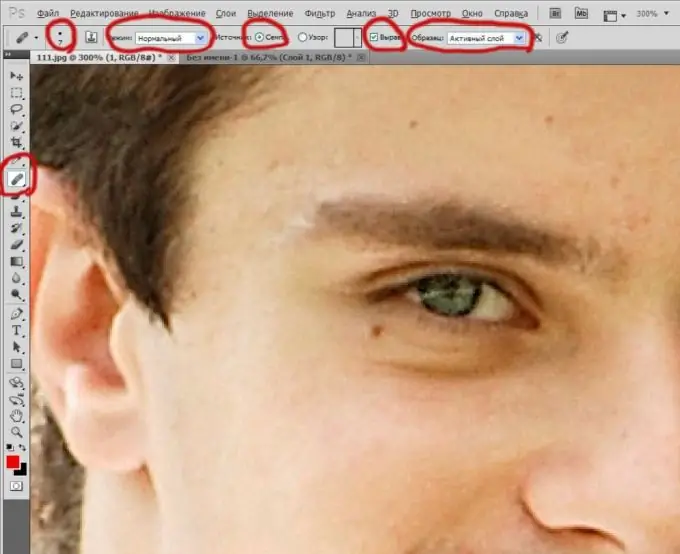
Now let's get to the point. We need the Healing Brush tool. Set a small brush size, overlap mode "normal, select source" sample, check the alignment checkbox, select "active layer. Now find a clean area on the skin next to the pimple to be removed, hold down the Alt key and click the mouse. The brush took a sample of the skin. Now you can release "Alt" and, like a normal brush, start covering up the pimple. He must disappear. Now move on to the next one. Use Alt to sample the skin as often as possible so that the face looks natural. In the sample, you can see that the young man's entire cheek has already been cleaned. This work is rather monotonous and long at first. But soon you will fill your hand, and in a matter of minutes you will be putting your skin in order.

Step 3
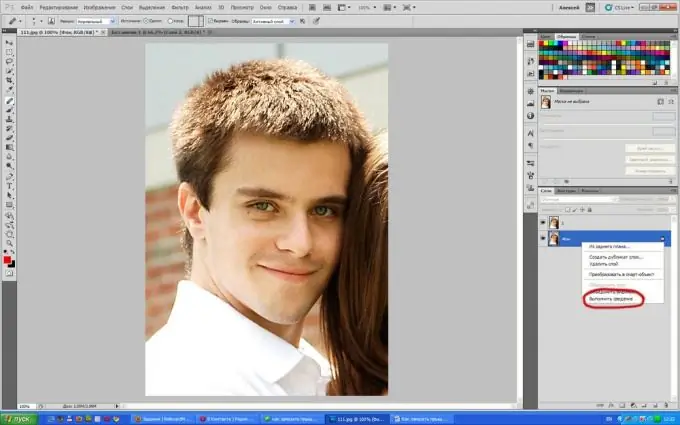
When you have cleaned the entire face, turn off the layer by clicking on the eye. You will see what happened before processing. Turn on the layer and you will see the result. You're happy? Wonderful! Right-click on the bottom layer and select flatten. Now both layers have merged and fixed.

Step 4
Save the resulting image and enjoy. Now, no matter how pimples spoil your everyday life, you and your friends will look great in photos.


