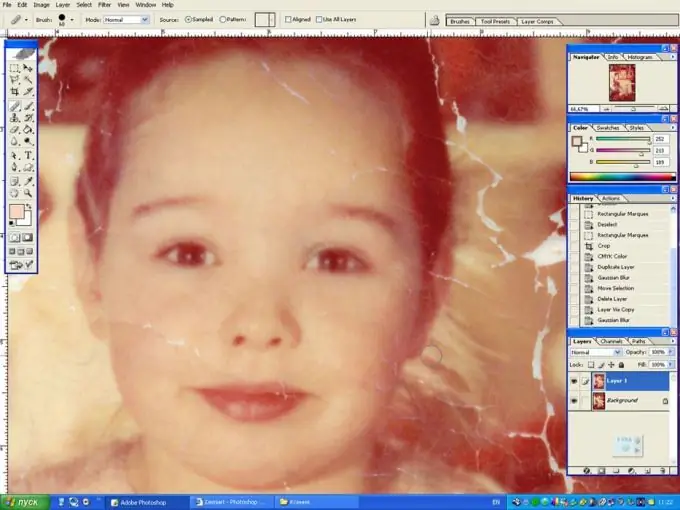
Each family has an archive of carefully preserved old photographs. Over the years, these photos lose their brightness, their colors fade, and the photos themselves can become covered with cracks, dark spots and other defects. If you want to preserve old photos for a long time, you can retouch them, returning them to their original appearance, using Photoshop, and then save them in electronic form.

Instructions
Step 1
First, scan your photo in high resolution - at least 300 pixels per inch. Open the scanned image with defects in Photoshop and set it to the desired size. Retouch the photo at 100% magnification. Open the Image menu and select Mode> CMYK Color to convert your photo from RGB to CMYK for further printing.
Step 2
Duplicate the main layer of the photo and click on the channels palette, and then preview each of the color channels by clicking on them in turn. Select the channel on which the scratches and defects of the photo are most visible, and make it active.
Step 3
Click on the eye icon to turn on the color image, and then apply Filter> Gaussian Blur to the photo to get rid of small scratches. Sometimes this method can lead to distortion of facial features in the photo - in this case, retouch each scratch separately using the Spot Healing Brush Tool, as well as the Healing Brush Tool and Clone Stamp.
Step 4
Zoom in on the photo and begin to carefully paint over visible defects, choosing undamaged parts of the photo as the source for cloning.
Step 5
After removing scratches and flaws, proceed to color correction. Use channels, Curves, and Color Balance, Selective Color and Levels for color correction. Change the photo back to RGB mode if necessary, but remember to return it to CMYK mode to print.


