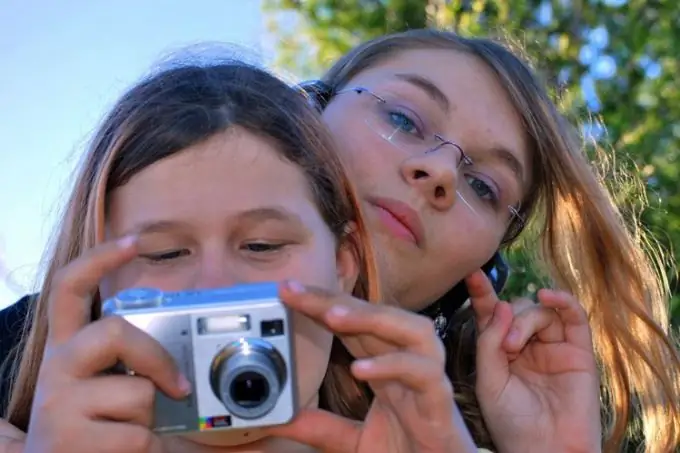
After the end of an amateur photo session, it is often necessary to retouch photographs: to remove skin defects that are masked by makeup in other conditions, to neutralize the result of unsuccessful lighting. All of these tasks can be accomplished using Photoshop tools.

Necessary
- - Photoshop program;
- - Photo.
Instructions
Step 1
Load the photo to be processed into a graphics editor. For this you can find the Open command in the File menu and use it, you can drag your photo into the Photoshop window with the mouse.
Step 2
Make a copy of the layer on which the edited photo is located using the Dublicate command from the Layer menu. This will give you the ability to change the visibility of the superimposed retouching and, in addition, by turning off the visibility of the layer with the changes, you can compare the corrected image with the original.
Step 3
Correct the color balance of the image, if necessary. To do this, you can try using the Auto Color command from the Adjustment group of the Image menu. As is always the case with automatic settings, this command may or may not produce acceptable results.
If you still don't like the colors in the photo, undo the last action with the Undo command from the Edit menu and adjust the color balance manually. Call the settings window with the Color Balance command from the same Adjustment group.
Step 4
Use the Clone Stamp Tool to remove minor skin imperfections such as scratches, age spots and other troubles. Select an area of skin without defects next to the edited fragment of the photo. Click on it with the left mouse button while holding down the Alt key. Move the cursor over the defect that you are going to retouch and click on it with the mouse.
Step 5
To eliminate harsh shadows and bags under the eyes, use the Median or Surface Blur filters. Before using these filters, make a copy of the layer from which you removed skin imperfections and already on this copy select the area of application of the filter. To do this, switch to Quick Mask mode using the Q key and paint over the filter area with the Brush Tool.
Step 6
Press the Q key to exit the Quick Mask mode and invert the resulting selection with the Inverse command from the Select menu. Apply a Surface Blur filter from the Blur group of the Filter menu or Median from the Noise group of the same menu to the selection. Set the filter parameters by eye.
Step 7
This blur processing makes the skin in the photo look like plastic, but this can be corrected by lowering the transparency of the layer with the filter applied. To do this, adjust the Opacity parameter in the layers palette.
Step 8
Save the photo in psd format if you are going to go back to editing it. To view the picture using conventional image viewers, save the file in.jpg"


