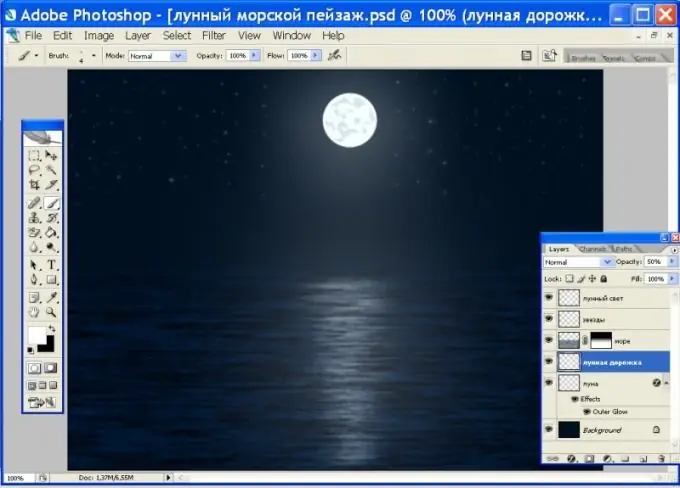
With the editor Photoshop, you can create various landscapes using only its tools. To draw moonlight in Photoshop, all you need to do is apply various filters and selection tools.

Create a new document to fit your screen and fill it with a dark blue, almost black color. It will be the night sky. Then create a new layer on which the moon will be drawn. To do this, click on the corresponding icon at the bottom of the layers panel. Press the Latin M and from the list of selection tools select the Elliptical Marquee Tool ("Elliptical selection"). Hold down the Shift key and draw a circle. Use the Paint Bucket tool to paint the selection with a very light blue, almost white. To simulate the uneven surface of the moon, in the Filter menu, select the Sponge filter in the Artistic group and set the following parameters: Brush size = 2; Definition = 12; Smoothness = 5. In the Image menu in the Adjustments section choose Brightness / Contrast and set Brightness = 17; Contrast = 32. To soften the intolerable glow of the moon, use the Blur More filter from the Blur group. Double click on the moon icon and in the style panel go to the Outer Glow section. Set the size of the glow to approximately 150 pixels. Create a new layer on which you will paint the sea. Fill it with the same color that you painted the sky. To draw waves, in the Filter menu from the Render group choose Fibers and set the Variance parameter to about 16, Strenge = 4. To bring the water surface to a horizontal position, press Ctrl + T, right-click inside the selection and choose Rotate = 90 degrees. Using transform, resize the sea to fit into the image. Apply a Gaussian Blur filter with a 1 pixel radius to the sea. Change the layer's blend mode to Overlay. Click on the Add Vector Mask button at the bottom of the Layers panel. Press X to set the foreground color to white, select the Gradient Took Tool and draw a line from the middle of the sea to the surface. Create a new layer on which you will paint the stars. On the toolbar, select the Brush Tool with a 5 px diameter and press F5 to set the brush properties. Double click on Shape Dynamics and set Size Jitter = 40%, Roundness Jitter = 5%. Check the box next to Other Dynamics and set the Opacity Jitter = 10%. Draw stars in the sky. Create a new layer for the moonlight. With a 9 px white brush, draw some straight lines while holding down the Shift key from the moon to the middle of the sea. Press Ctrl + T, right-click inside the selection and choose Distort. Stretch the rays so they scatter approximately 45 degrees. Apply a Gaussian Blur of approximately 50 pixels. Now we need to draw a lunar path. Again create a new layer and draw a vertical straight line with a 9 px diameter brush about 2/3 the depth of the sea. Apply the Wind filter from the Stylize group with Blast From the Right to the layer twice. Then distort so that the track widens slightly at the horizon. Blur the path with the Motion Blur filters with Distance = 50 px and Gaussian Blur = 3 px. Move the lane layer under the sea layer and lower the opacity.


