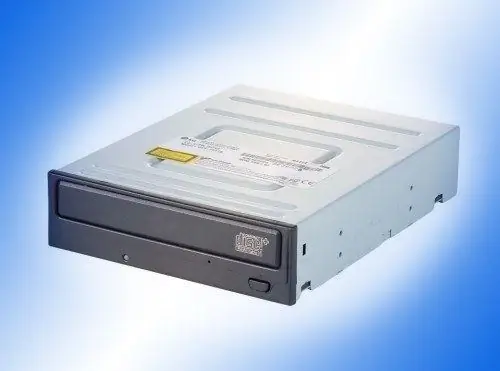
Any modern computer can connect two optical drives at the same time. There can be many reasons when you need to connect two drives. For example, you bought a new, more functional drive, but the old one still works. Then it can be used to read, for example, scratched and wiped discs so as not to spoil the laser head of the new device with them, thereby significantly extending its service life.

Necessary
- - Computer;
- - drive unit.
Instructions
Step 1
Almost all motherboards now have a SATA interface. It is with the help of this interface that the connection of the second optical drive will be considered. If you have a manual for your motherboard, then first of all look at the diagram where the SATA interfaces are located. If you do not have manuals, you can find them without problems and without a diagram, it may just take a little more time.
Step 2
Unplug your computer from the electrical outlet. Remove the cover of the system unit. It is usually secured with two screws or special latches. Now locate the SATA interfaces on the motherboard. There may be several of them. These are small connectors, near which SATA is written.
Step 3
Now insert one end of the SATA cable into the interface and the floppy drive into an empty bay. If necessary, fix it in the compartment using the fastening screws. Connect the other end of the SATA cable to the SATA interface of the optical drive. Connect the power cable to the drive. You need to insert a cable from the power supply into the drive, on which the SATA inscription will be. Do not close the lid of the system unit yet.
Step 4
Plug in your computer and turn it on. Immediately after switching on, press the DEL key (sometimes F2 or F5 can act as an alternative to this key). You will find yourself in the BIOS menu. On the first screen, there will be a list of SATA interfaces. If any device is connected to the interface, then the model of this device will be next to it. Therefore, next to one of them, the model of the drive just connected should be written. This means that the device has been recognized by the system. You don't need to enter any more settings. The system now "sees" both the old drive and the new one.
Step 5
Close the lid of the system unit and turn on the computer. Now two optical drives are connected to it.


