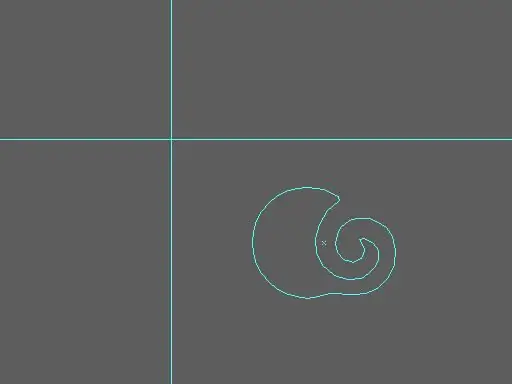
Just like the grid in Adobe Illustrator, guides are needed to help you create and edit objects, but unlike the grid, guides can be located at any angle and have completely different shapes.

The guides are not displayed when printing on paper and are visible only while working in the program.
You can create linear guides that run strictly vertically or horizontally, or guide objects that are created from regular vector objects.
- To create a linear guide, place the cursor over a vertical or horizontal ruler, hold down and drag to the desired location. If you want to constrain the linear guides inside the artboard, and not extend them to the entire artboard, then you need to first select the Artboard tool [Shift + O] and then create the guides.
- If you want to create a guide from a vector object, then you need to select this object and select View> Guides> Make Guides [Ctrl + 5] from the menu. To transform the guide back into a regular vector object, choose View> Guides> Release Guides [Alt + Ctrl + 5] from the menu.
To hide or show guides, choose View> Hide Guides or View> Show Guides [Ctrl +;] from the menu.
You can also choose the style of the guides - line type (solid or dotted) and color. To do this, go to Edit> Preferences> Guides & Grid and change the appropriate setting.
By default, the guides are unlocked and you can freely manipulate them, but if you want, you can lock them so that you do not accidentally do anything with them in the process. To do this, select View> Guides> Lock Guides [Alt + Ctrl +;].


