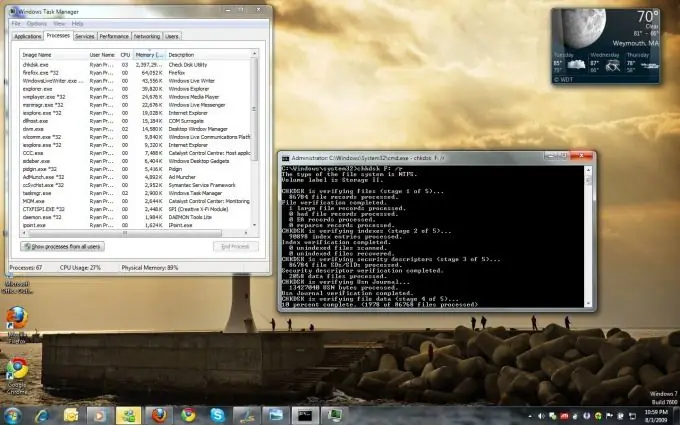
A hard disk check is performed in cases of messages about critical errors during system boot. The Windows operating system has its own disk check tool, which can be activated both from the graphical interface and from the command line.

Instructions
Step 1
Click the "Start" button to enter the main menu and select "My Computer" or open the "My Computer" icon on the desktop.
Step 2
Select a disk or partition to check and call the service menu by right-clicking on the required line.
Step 3
Open the "Properties" item and select the "Tools" tab.
Step 4
Click the Check Now button.
Step 5
Click the "Run" button in the "Check local disk ()" window that opens.
This will start the check operation of the non-system hard disk partition. Checking the system partition is possible only after restarting the computer (but before starting the operating system), since the system partition is a prerequisite for the functioning of the system itself.
Step 6
Click the "Schedule disk check" button to set the parameters for checking the system partition.
An alternative way to run a disk check is to use the command line.
Step 7
Enter the main menu by clicking the "Start" button and select the "Run" section.
Step 8
Go to Open and type chkdsk c: / f / r at the command prompt to check your C: drive.
Step 9
Wait for a warning about the impossibility of executing the entered command and set the value to Y.
Step 10
Restart your computer to start testing.
If critical errors on the disk prevent the system from booting, use the Windows installation disk for verification.
Step 11
Boot Windows from the installation disc.
Step 12
Type chkdsk c: / r and press Enter to start testing (Windows XP).
Step 13
Specify the desired language options and click Next (for Windows Vista / 7).
Step 14
Select the "System Restore" option.
Step 15
Identify the system that caused the problem and click Next.
Step 16
Select "Command Prompt" in a new window with a choice of recovery methods.
Step 17
Type chkdsk c: / r b press Enter.


