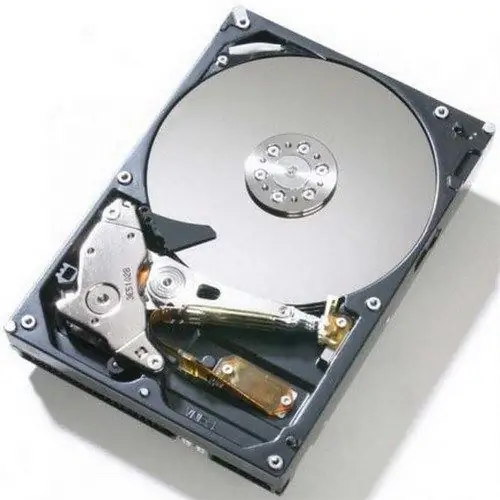
From time to time, when the computer starts up, the operating system starts scanning disks for problems. This happens especially often when the operating system fails and it suddenly restarts. Sometimes hard drives are checked every time the computer is turned on. This option, of course, is quite useful, but during the scanning process the system can be quite slow.

Necessary
Computer with Windows OS
Instructions
Step 1
The problem can be solved in a fairly simple way, namely by disabling automatic verification. You should not be afraid that this may entail problems with working with the hard drive, since such a check can be performed manually, for example, once a month or more often if necessary.
Step 2
You can disable automatic hard disk check in this way. Click Start. Click on "All Programs". Select Accessories from the list of programs. Find the command line in standard programs. Start it up.
Step 3
At the command prompt, enter Chkntfs C: / x. The letter C is the letter of the hard disk partition. Instead, you can enter any other letter corresponding to the name of the partition of your hard drive. After entering the command, press Enter. Automatic verification will be disabled for the section you selected. Thus, you can disable scanning for all partitions on the hard disk.
Step 4
You can also disable automatic checking by editing the system registry. At the command prompt, enter Regedt32.exe. Next, click on the arrow opposite the HKEY_LOCAL_MACHINE registry key. Repeat the action next to the SYSTEM, CurrentControlSet and Control subsections. Then select the line Session Manager.
Step 5
A list of branches will appear on the right side of the Registry Editor. In this list, find the BootExecute branch. Click on it with a double left click of the mouse. Then you can edit BootExecute. The value of this branch is Autocheck autochk *. All you need to do is just remove the asterisk. Ultimately, the value remains Autocheck autochk. Save the settings and close the Registry Editor window. This completes the procedure for disabling the automatic check.
Step 6
If you need to manually complete the procedure for checking a hard disk partition, just start a command prompt and enter Chkdsk.


