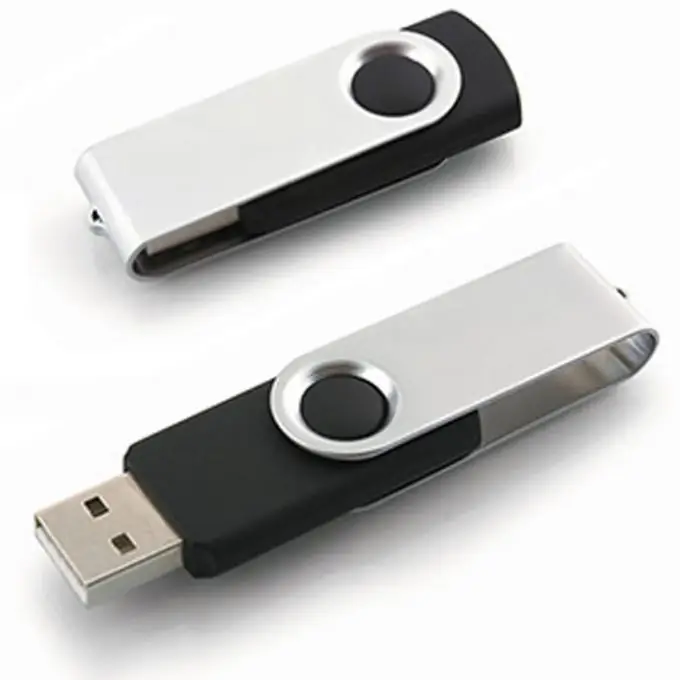
When working with a computer, we perform a large number of simple operations that we do not pay attention to. Power on and off, watching DVD movies, launching programs, and the like. At the same time, we forget that we once performed these operations for the first time. One of these operations is to install a USB flash drive on a computer.

Necessary
Computer, flash drive
Instructions
Step 1
To install a USB flash drive, find a free USB port. Insert the USB stick into any of them, these ports are the same. It is not always convenient to get to them, and almost always case manufacturers bring additional USB connectors to the front panel of the case. These connectors can "look" forward, upward, or sideways. Insert the USB flash drive into one of these connectors, it is much more convenient.
Step 2
To insert a USB flash drive, gently, with a little effort, plug it into the connector. If it does not work, take a look, it may need to be turned over. The connector is designed in such a way that you can insert a USB flash drive into it only in one position. The exception to this rule are mini-sticks (they have a flat contact group without a frame), which can be inserted in different directions, however, if such a stick is inserted incorrectly, it simply will not work. In this case, it also needs to be turned over.
Step 3
After you insert the USB flash drive into the socket, the operating system should recognize it. In the lower right corner of the screen, a message will appear stating that a new device is being installed. After the phrase "The device is installed and ready to work" appears, the USB flash drive can be used.
Step 4
To work with a USB flash drive, go to the "My Computer" menu, in which a new logical drive with a new letter will appear (for example, Drive G). This is the USB stick. Writing and reading information is performed in the same way as when working with a hard disk. Select the file, copy and paste where necessary. These operations are performed with the right mouse button.


