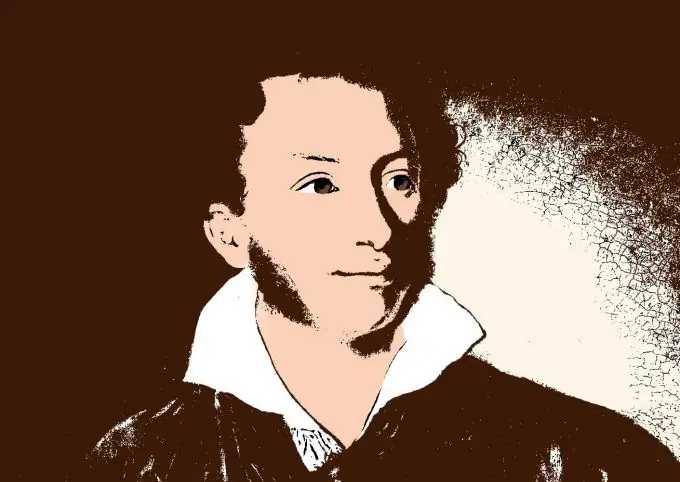
Converting a photo into a vector drawing may be required if you want to print your portrait or a portrait of your friend / idol on a T-shirt, mug or calendar. There are many options for implementing this idea, but we will use Photoshop. As a result, we will get a bright colorful vector drawing that we can use for any described purposes. The drawing will look like a cartoon, but this is exactly what we are trying to achieve.
Instructions
Step 1
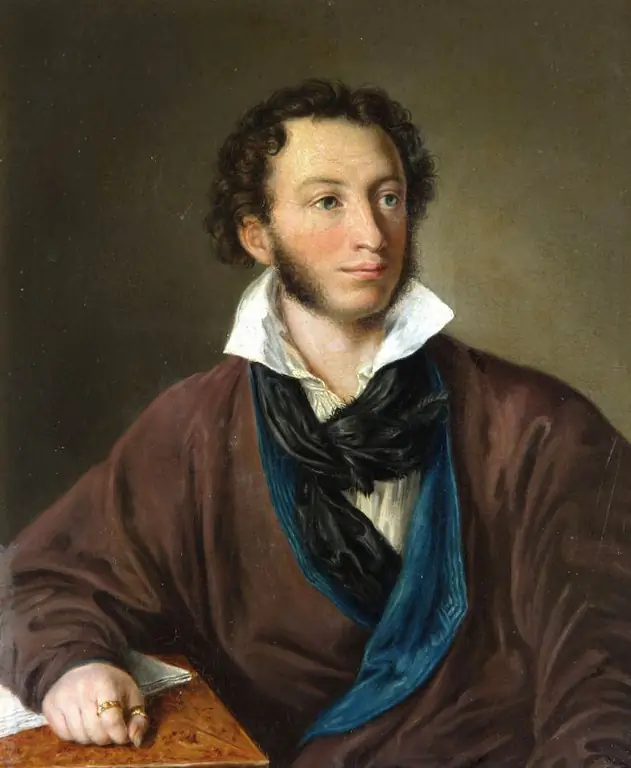
Open the photo you want to process and make a copy of the entire layer. Unlock the background layer by double clicking on it. You will have a new layer. Name one layer "Layer 1" and the second layer "Layer 2" respectively.
Step 2
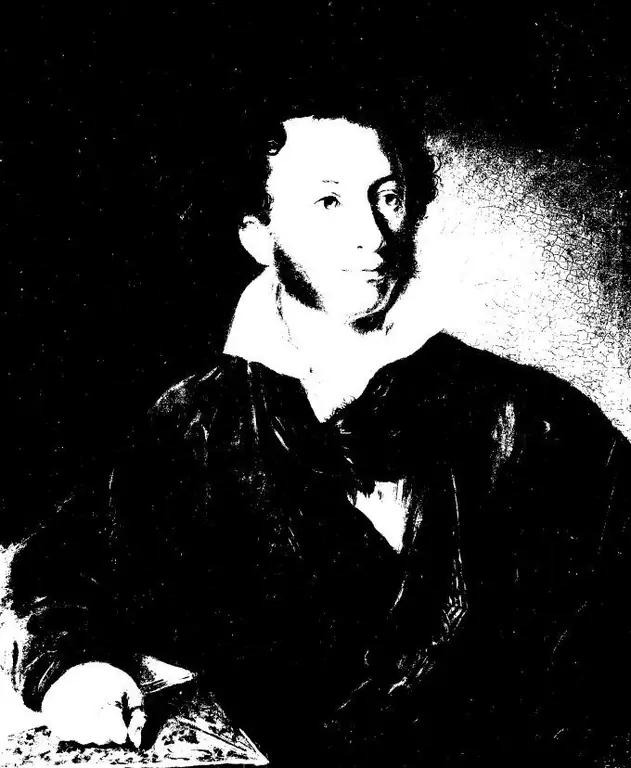
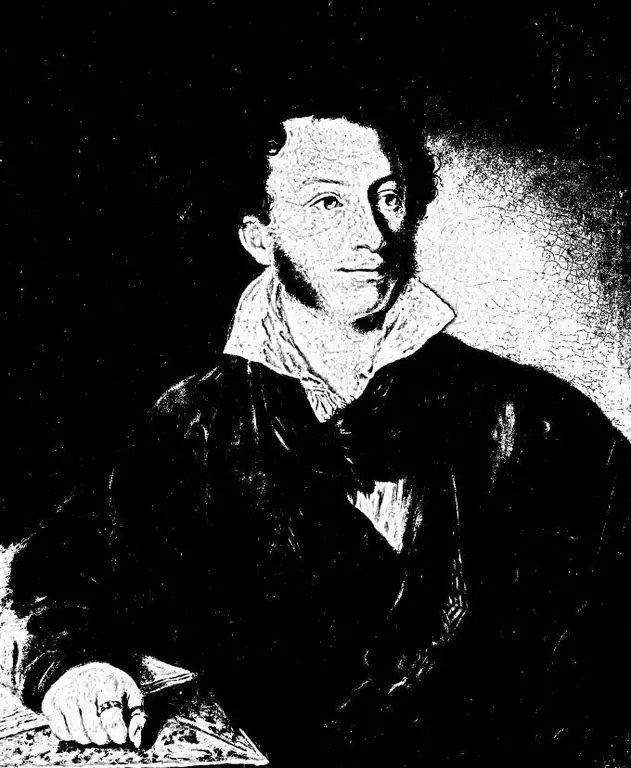
For layer 1, apply a chain of actions: Image - Correction - Isogelia (threshold). Set the iso-helium level to 90. This is not a constant value, it can be in this limit. It depends on the photo and the quality of the photo.
Step 3
Now set the background and foreground colors to the default (white and black). This can be done by pressing the D hotkey or by clicking on the icon in the toolbar. Also, you can select the colors manually in the squares.
Step 4
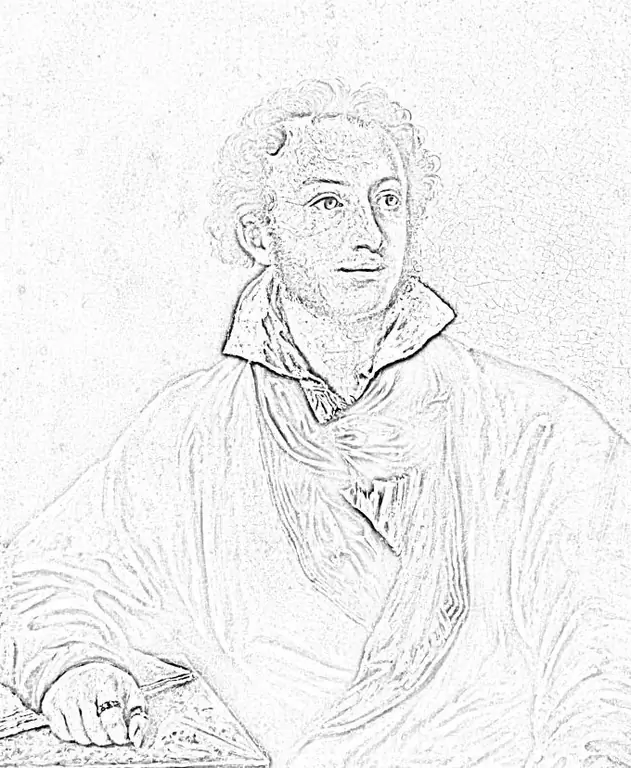
For layer 2, apply the Photocopy filter. Chain of action Filter - Sketch (or sketch) - Photocopy (or photocopy).
Step 5
For layer 2, set the blending mode (or blending mode) to multiply and merge the layers. In the layers panel, the multiply mode selection is in the upper corner of the layers panel.
Step 6
Reapply iso-helium to the already merged image. Set the iso-helium value to 128 this time. The values can be changed depending on the appearance and quality of the photo.
Step 7
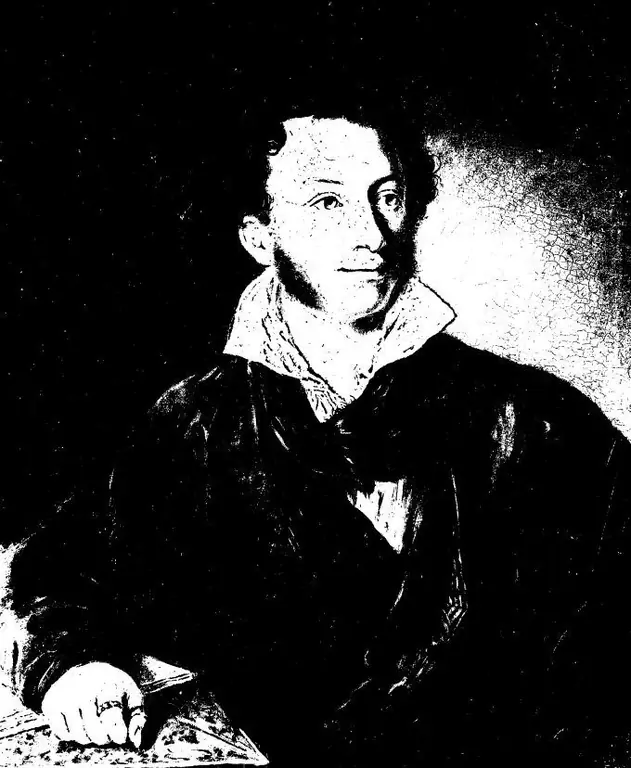
Next, you need to smooth the edges. To do this, apply the filter styling - diffusion. Select anisotroic mode.
Step 8
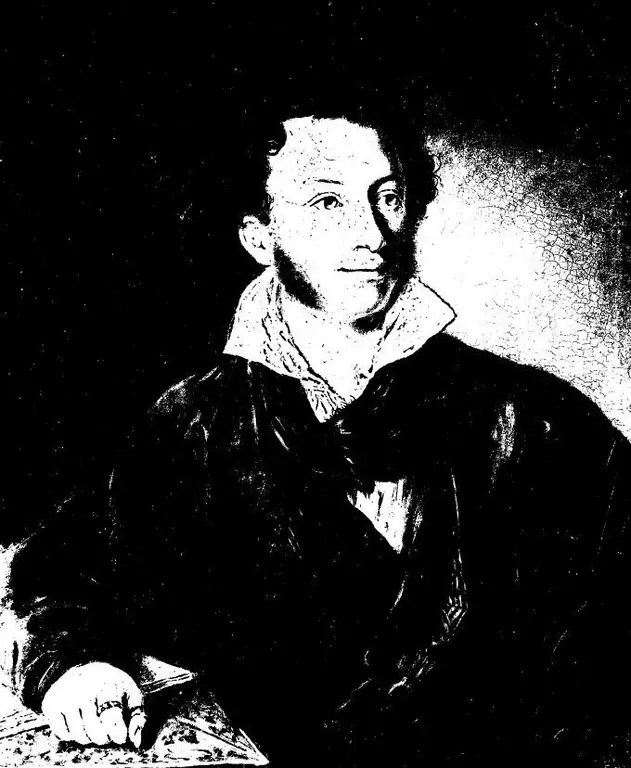
As a result, we got the outlines of the future image. Now it remains to fill the path with a bucket (fill). If there are some rudiments left on the image from the transformation, then you can correct them at this stage using the eraser, or vice versa - finish the contours with a black brush.


