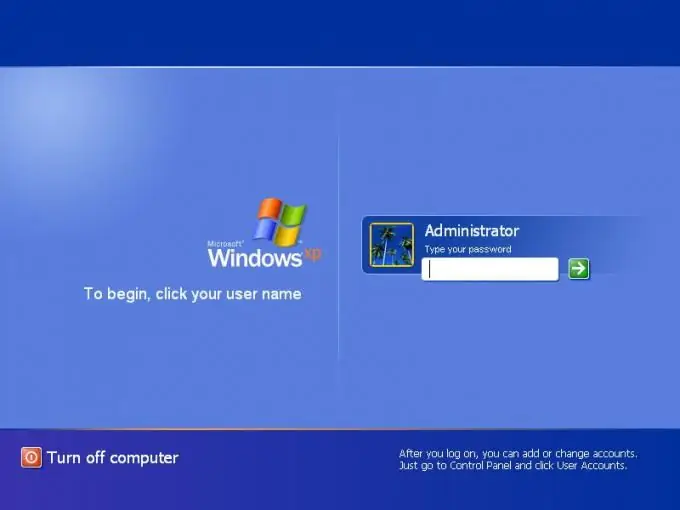
The Windows welcome screen is not suitable for every user. Some resign themselves to this, but others are looking for ways to help them somehow change the welcome window. And there are such ways. If you don't like the standard set of pictures to represent your profile, you can easily set your own picture.

Instructions
Step 1
First you need to go to "User Accounts". This can be done by going to the Start menu. Then just follow the chain "Control Panel" -> "User accounts".
Step 2
In the window that opens, select the user account whose image you want to change. Now click on the Change My Picture button.
Step 3
A list of images will appear by default. Click on the button "Search for other pictures" or "Browse for more pictures". The system will open the My Pictures folder by default, but you can change the folder as you see fit. Having found the required image with a size of 48x48 pixels, confirm your choice by clicking on "Open". The system will start forced scaling and changing the format to jpg, bmp or gif.
Step 4
Then the system will display the list of images on the screen again, but your image will already be highlighted there. Click on the Change Picture button.
Step 5
The same can be done by digging through the registry. Open the registry by typing in the Search box in the Start menu, the regedit command. Next, change the option to select your image in the following section: HKEY_LOCAL_MACHINE -> SOFTWARE -> Microsoft -> Windows -> CurrentVersion -> Hints -> (username). This information is found in the Picture Source entry. To avoid using the commands and dialogs listed above, you can simply make the appropriate changes to this entry. Pictures by default are located in the% system drive% Documents and SettingsAll UsersApplication DataMicrosoftUser Account PicturesDefault Pictures folder.


