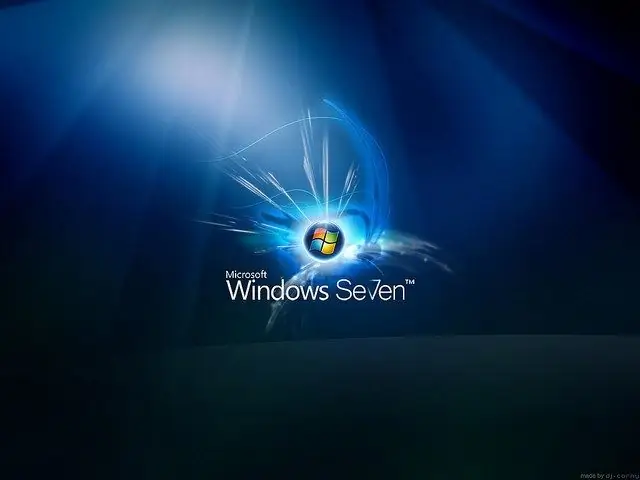
When the Windows operating system starts, the user sees a standard welcome screen. If you are bored with the familiar login picture, you can change it using special utilities.

Necessary
- - LogonStudio program;
- - TuneUp Utilites program;
- - Resource Hacker program;
Instructions
Step 1
There are several options for changing the welcome screen. Some of them involve working with configuration files, which requires a certain amount of experience and knowledge. Others, using specialized software, allow you to get the desired result with a few clicks of the mouse. Using special utilities, you practically eliminate the chance of damaging the system to zero.
Step 2
One of the easiest ways to change the welcome screen is to use the LogonStudio utility, you can download it here: https://winzoro.com/catalog/soft/LogonStudio/. Install and run the program, in its window you will see several options for screensavers. You can use them or choose your own. There are many beautiful welcome screen options available on the internet.
Step 3
To change an existing screen, just select the one you need and click the Apply button. The next time you boot your computer, you will see a new welcome screen. There are several versions of the LogonStudio program that work both with several operating systems - Windows XP, Windows Vista and Windows 7, and specialized for a specific operating system.
Step 4
You can use TuneUp Utilites to change the welcome screen, which allows you to change many Windows settings. After installing the program, open: "Start" - "All Programs" - "TuneUp Utilites" - "All Functions" - "Style Setting". In the window that opens, select the "Login screen" item. Click the "Add" button, select "Download the welcome screen from the Internet." The browser will automatically open a page with images, you can choose the one you like.
Step 5
The selected image will be automatically inserted into the program. Click the Apply button. In the window that appears, you can choose whether the standard inscriptions in Russian will be on the welcome screen or those that are present in the loaded image will remain. After installation and a corresponding message appears, click OK and close the program.
Step 6
In the event that you want to create your own original welcome screen, you will need to modify the Logonui.exe file. Open it in Resource Hacker, find the Bitmaps folder and section 100. This is where the welcome screen image is located. Replace it with your own, it must be in *.bmp format.


