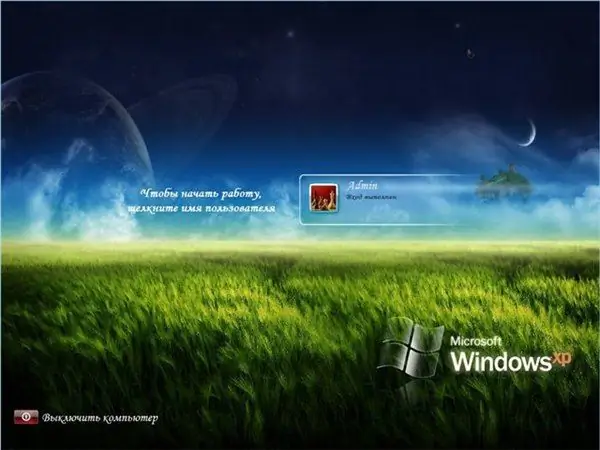
You probably know that when you start any operating system, a welcome screen appears. For most users, this screen is the standard splash screen set by the manufacturer of a particular operating system. If you want, you can change it and set your own unique welcome screen. Let's walk through this procedure step by step using the example of the Windows XP operating system.

Necessary
Restorator, ResHacker
Instructions
Step 1
Open the Windows folder, and in it the System32 folder (the standard path usually looks like this: C: / Windows / System32). Then find the logonui.exe file in this folder and copy it to myui.exe located there. This is so that we create a copy of the original file and do nothing that the system could object to.
Step 2
Next, open the program for editing resources Restorator (https://www.bome.com/Restorator/), and with its help the file myui.exe. You will see the resources that are available for you to edit. These can be pictures used in the welcome screen, background color, caption, position of objects, and so on
Replace the original welcome screen images with suitable prepared images and backgrounds. In the color settings, replace the standard colors with the desired ones. This can be done in front of each label on the welcome screen.
Step 3
You can also change the "Welcome" caption either to your own text or to your own drawing. To change the default "Welcome" caption, refer to the "String Table" resource. At the very beginning of this resource, there is the following line:
7, "Greetings"
This is the text that is usually displayed in the middle of the screen. To edit the inscription directly, use the special program ResHacker (https://www.angusj.com/resourcehacker/), because editing it in Restorator may cause an error on further loading of the welcome screen
To remove the "Greeting" text and set the picture you want instead, open the UIFILE => 1000 resource and delete the contents of lines 911 and 912. Replace the deleted contents with the following code:
999 is the name of the picture resource. Add this resource to the "Bitmap" group with the name 999 and assign the picture you need to it.
399 - picture width
120 - picture height
Step 4
Once you've done whatever you want with the welcome screen and modified it to suit your needs, it's time to install it on the system so that it can use it every time you turn it on.
Open the registry (Start, Run, regedit command). In the window that appears, find the HKEY_LOCAL_MACHINE section, inside this section, open SOFTWARE, then Microsoft / Windows NT / CurrentVersion / Winlogon. Find the UIHost item and replace its value with our myui.exe file.
This completes the installation of the welcome screen. You can close the registry window and end your computer session to check if the changes took effect.


