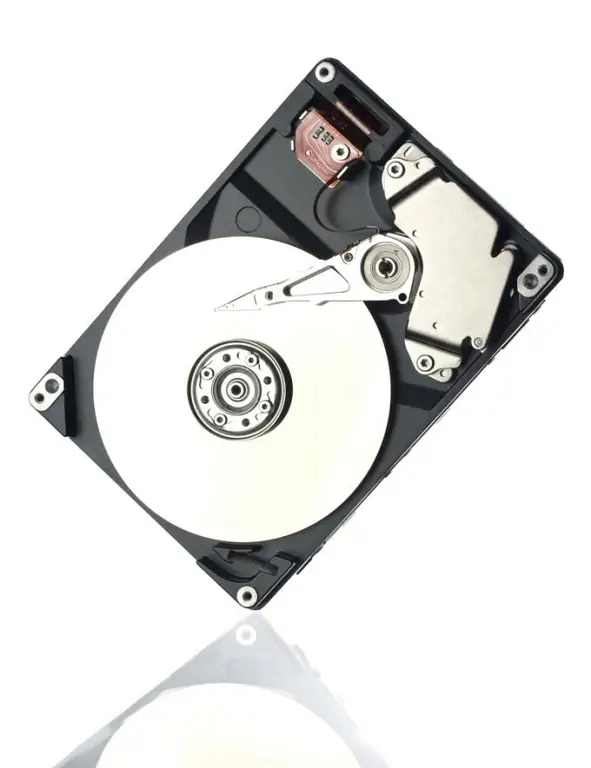
When installing the Windows XP operating system, you may encounter the problem of displaying hard drives if SATA drives were installed in your computer. This is due to the fact that SATA drives were released later than the first builds of Windows XP. This problem can be avoided by integrating SATA drivers into the Windows XP installation disc.

Necessary
Windows XP operating system distribution kit, CD-R / RW disk, nLite software, driver for SATA disk
Instructions
Step 1
In order to integrate the SATA driver, you need to download all the necessary components listed above. They are freely available in the vastness of the world wide web, it is enough to use any search engine.
Step 2
After you have downloaded all the necessary components, proceed with their sequential preparation. First, install the nLite program. For this program to function properly, you must have Microsoft. NET Framework 2.0 installed on your computer.
Step 3
After installing the program, copy the operating system distribution kit to your hard drive. It is preferable to select the following save directory - D: WindowsXP. To do this, you need to insert the disc with the operating system into the drive - select all files on this disc - copy and paste into the above folder.
Step 4
Open the archive with SATA drivers - unpack it anywhere on your hard drive.
Step 5
Start the nLite program. In the program that opens, specify the name of the folder where the operating system distribution is located. Click "Next".
Step 6
Select "Drivers" and "Bootable ISO Image".
Step 7
Click Next - then click Add - select Drivers Folder.
Step 8
After that, you need to specify the location of your SATA drivers. Select "x86" for a 32-bit operating system. Otherwise, the value is "x64".
Step 9
If you have an Intel chipset click OK.
Step 10
Select absolutely all items (performed by pressing the Ctrl + mouse selection) - click the "OK" button.
Step 11
If you have an AMD chipset, click the "Next" button - start the beginning of the process.
Step 12
After the integration is complete, click the Next button. Then we burn the resulting distribution to a CD-ROM.


