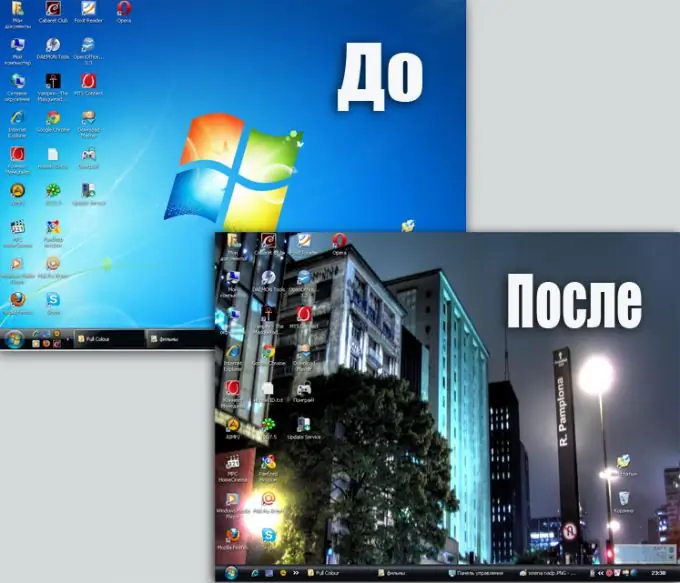
The developers of the Windows XP operating system have provided users with the ability to customize almost all design elements to their taste. You can install ready-made themes or edit only individual items. Change icons, change fonts, place a photo of your beloved person or dog on your desktop. The main thing is that you have some free time and desire.

Necessary
Computer with OC Windows XP
Instructions
Step 1
Open Display Properties (Start Menu - Control Panel - Display). In the window that opens, select a theme of your choice. If you don't like the proposed themes, you can download a suitable one from the Internet. To install a downloaded theme, go down in the drop-down list of themes and select the "Browse" line. Find the folder where you downloaded the theme - it will be installed on your computer.
Step 2
Open the next tab - Desktop. Select the picture that you would like to see on your desktop from the proposed list or put any other one using the "Browse" button. Customize the display mode: the picture can be centered, tiled all over the screen or stretched to fit the screen. If you do not want to place images, you can simply fill the entire desktop with your favorite color.
Step 3
Click on the "Customize Desktop" button. A window will open in which you can replace the standard icons "My Documents", "My Computer", "Network Neighborhood" and "Trash" with others.
Step 4
Select the screen saver for the standby mode and the time interval for its appearance. The parameters of the selected screensaver can be edited as you wish. You can view the splash screen in full screen mode by clicking on the "View" button. To stop viewing and go back, press any key.
Step 5
Open the "Appearance" tab. Customize the individual design elements as you wish. You can choose one of the proposed ready-made schemes, or you can edit an already installed one.
Step 6
Click on the "Advanced" button. Left-click the element in the preview window that you would like to modify. Alternatively, open the "Item" rollout and select the desired item from the list. You can change colors, sizes of elements, fonts of inscriptions, etc. Having chosen the best option, click on the "OK" button.
Step 7
Change folder icons to highlight the most important or favorite ones in the general list. For example, a folder with important documents or video favorites. To do this, right-click on the required folder and select "Change directory icon" from the menu that opens.
Step 8
Change, if desired, the shortcut icons on the desktop. To do this, right-click, and in the window that opens, click on the "Change icon" button.


