Pictures and photos can look great against a white background and even blend in with it. But what if you need to insert a picture on a website with a background that is clearly different from white? In order for your work to look professional, it is enough to turn to the well-known program Adobe Photoshop, with which you can completely remove both white and any other unwanted background of the image. This guide will help you figure out how you can do it yourself.

Instructions
Step 1
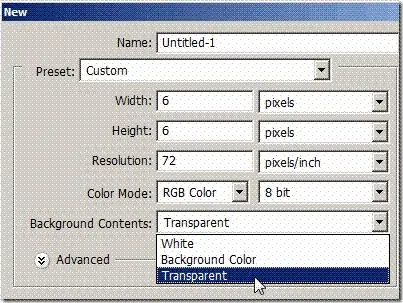
Open the photo you need, select it and copy the whole (Select All> Ctrl + C). Then create a new file of the same size (Ctrl + N) and specify in the options that the background of the new document should be Transparent, that is, absent. Click OK and paste the copied image onto a new transparent background (Ctrl + V).
Step 2
Now go to the Toolbox and open a selection tool (like the Lasso Tool). Select the area of the white background in the photo, which should be removed and replaced with a transparent one. Close the selection and hit Delete. You will see how a transparent background of white and gray cells appeared in place of the white background.
Step 3
Using the lasso tool and a soft eraser, carefully remove all the white background around the desired object so that its outlines are completely cleared of the background.
Step 4
Adjust the color gamut, brightness and saturation in the Levels, Color Balance and Hue / Saturation sections. If desired, add some extra filters and effects to your photo.
Step 5
Done - your photo can now be saved. Choose File> Save As and choose.
Step 6
Using the same algorithm, you can remove the background of any color from any image, replacing it with a transparent one, or not change the entire background, but cut out only a few transparent areas, leaving the rest of the photo untouched.
You can cut out the white background from the photo and change it to transparent using any of the new versions of Photoshop CS.


