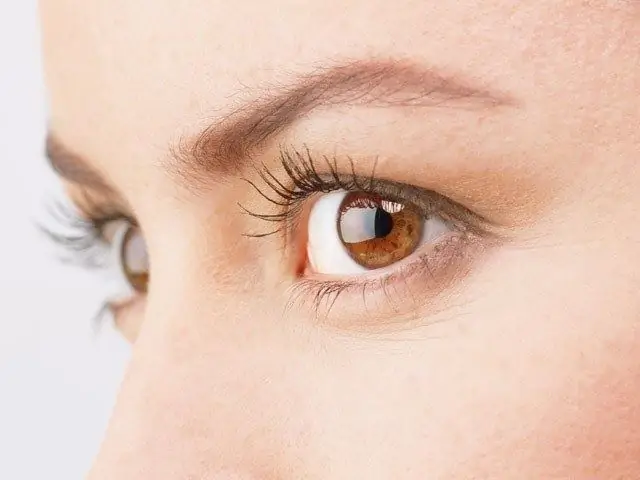
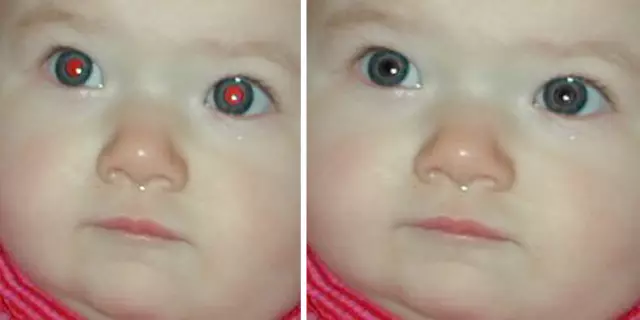
You can add glare in the eyes to a photo by lightening part of the image or by painting a bright area using Photoshop's editor tools. For the convenience of setting up the final version of the picture, it is worth applying these tools not to the original photo, but to its copy.

Necessary
- - Photoshop program;
- - Photo.
Instructions
Step 1
Open the image you are going to process in Photoshop using the Open option of the File menu. If the eyes are in shadow in the photo, lighten them slightly. After that, the highlights will look much more impressive.
Step 2
An easy way to lighten the eyes in a photo is to overlay a copy of the image layer in Overlay mode on the original image. Duplicate the background photo using the Ctrl + J keys and change the blending mode of the created layer to Overlay.
Step 3
In order not to lighten the whole photo, hide the copy of the image under the mask by applying the Hide All option in the Layer Mask group of the Layer menu. Using the Brush tool, paint white the mask fragments located on the eye area.
Step 4
It may turn out that after lightening the eyes became too bulging, and the iris visually decreased. To counteract this effect, paint over the iris with black, leaving only the whites and highlights in the image lightened.
Step 5
On top of the copy of the image with the mask, insert a transparent layer into the document for painting highlights. To do this, use the keys Ctrl + Shift + N or the Layer option located in the New group of the Layer menu. Use the Brush tool to paint white dots with blurred edges on the border between the pupil and the iris. Decrease the Hardness value in the brush settings to get feathering on the edges of the print. You can give the glare a more complex shape by smudging its edges with the Smudge Tool.
Step 6
If you are unsure of the exact location of the highlights, experiment with treating one eye. Having drawn a light spot of the desired shape, turn on the Move Tool and move the highlight over the image. If the spot is too blurry, apply the Free Transform option of the Edit menu to the layer on which it is located to reduce the size of the brushprint. After creating a natural looking spot of light, duplicate the layer and move the copy of the highlight to the other eye.
Step 7
Flare does not have to be a blur. You can add a new layer to your image with a light rectangular area. To do this, use the Polygonal Lasso tool to draw the desired shape on a new layer, paint it with white and deselect it with the Ctrl + D keys. To make the created effect look natural, reduce the opacity of the picture. You can duplicate the highlight and place the copy on the other side of the pupil.
Step 8
Use the Save As option on the File menu to save the processed image. For quick viewing, select the.jpg"


