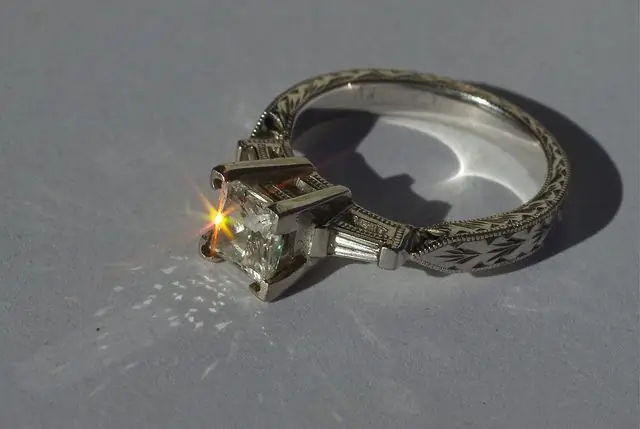
Animated pictures look very nice. Animated highlights look especially impressive on pictures with jewelry or jewelry, casting as if in the sun. Let's take a look at how you can make a lens flare and animate it using the example of a ringlet.

Instructions
Step 1
Open the document with our ringlet, it is better to choose a small size, 100x100 pixels will be enough for us. Create a new layer and name it "Flare3". Set the main color to light yellow. Select "Mirror Gradient" and drag it over the layer.
Step 2
Now the resulting lens flare needs to be Gaussian blur. Select, and give the blur radius a value of 4 pixels. Select the Blending Mode "Screen" and lower the Opacity to 55%.
Step 3
Duplicate our layer by dragging it onto the Create New Layer button and name the new layer "Flare2". Flip our lens flare horizontally by choosing Edit -> Transform.
Step 4
Make active "Flare1" and select the outer part of the ring with the "Straight Lasso" tool. Then click "Add Layer Mask". The glare that does not pass through the ring will be hidden by our mask. You need to unlink the layer with the mask by clicking on the paperclip icon. Activate "Flare2" and select the inner part of the ringlet, press "Add Layer Mask". Click on the paper clip again.
Step 5
Create a new layer "Flare3". Choose Edit -> Fill from the menu. Set the fill color to 50% gray. Next, go to Filter -> Rendering -> Flare and change the parameters until we achieve the desired result. Now move the highlight to the left and up the ring. Copy this layer and name the new layer "Flare4". Rotate the highlight 65o (Edit -> Free Transform).
Step 6
Open the animation panel or go to ImageReady. Turn off the visibility of the layers "Flare3" and "Flare4". We activate the first layer (namely the layer, not the mask). And move the highlight to the left with the Move tool. We make sure that the glare is completely hidden under the mask. Do the same with the highlight on the second layer, moving it to the right.
Step 7
Next, we need to create a second frame in the animation panel. To do this, click on the button "Create a copy of the selected frames". We do the same manipulations with the highlights, only move the lens flare from the first layer to the right, and from the second - to the left.
Step 8
Now we select "Create intermediate frames". We activate the second frame of our animation and for this frame we make the layer "Flare3" visible. We activate the third frame and for it we deduce the layer "Flare4" from invisibility.
Step 9
It remains to set the display time for the last animation frame. Let the value be 2 seconds. Well, we have created and animated the lens flare.


