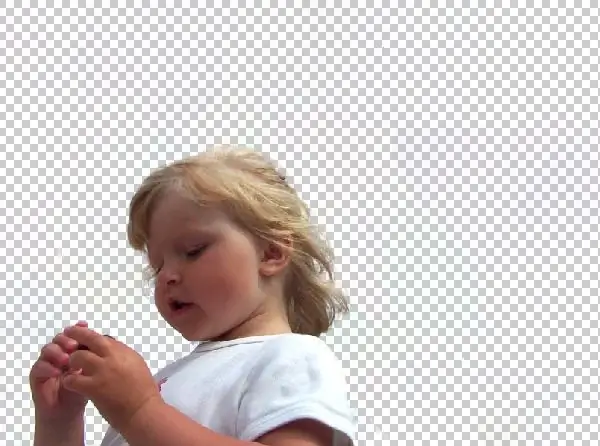
It is not easy to remove the background easily in not every shot, especially when the foreground is a subject with fuzzy outlines. Those who had to separate a branchy tree or a person's hair in a photograph know this firsthand. However, there is a trick that allows you to cope with this difficult task.

Necessary
Graphic editor Photoshop
Instructions
Step 1
Open the photo in Photoshop and select the Background Eraser Tool.
Step 2
In order not to go into too fine settings, select the following values of the tool parameters:
Diameter (brush size) - for a start, you can choose a large size to remove the main part of the background, and when working with small details, set the value to a smaller one.
Hardness - 100%.
Spacing - 25%
Tolerance - the higher the value, the wider the range of similar colors when removed.
Step 3
You can start erasing the background. The tool works on the principle of removing colors close to the hot spot (a cross in the center of the tool's brush), so clicking a point in the background will remove the original colors in the area captured by the brush.
Step 4
Having finished with the main background, you can proceed to detailed work with the object in the foreground. To do this, change the value of the tool to a lower value, and adjust the size of the brush if necessary. Use the tool by selecting background fragments with separate clicks so that the continuous movement of the tool does not remove the desired details.
Step 5
Once you've finished removing the background, you can blend the resulting layer with any other background image.


