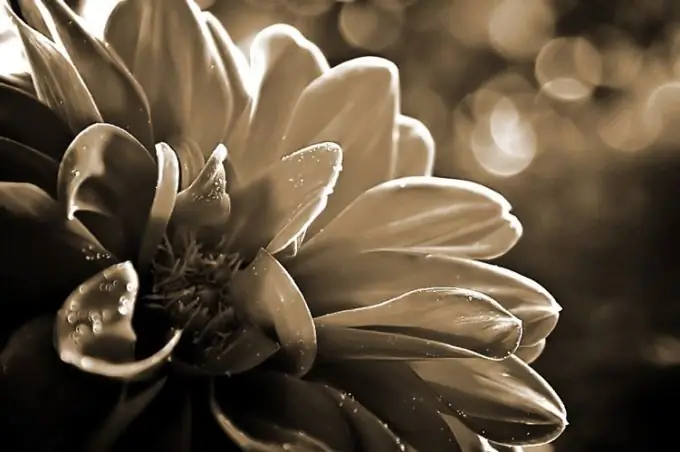
One way to create the effect of an old photograph is to simulate a sepia image. You can create the effect of this coloring using a number of filters in the Photoshop graphics editor applied to a color or black and white image.

Necessary
- - Photoshop program;
- - image.
Instructions
Step 1
One way to quickly simulate a sepia tint is to overlay the photo with a flooded layer. To do this, open the image in Photoshop and add a new fill layer to the document using the Solid Color option found in the New Fill Layer group of the Layer menu. When choosing a fill color from the palette, enter the value 704214 in the field for the six-digit color designation. Apply the created fill to the image in Color mode.
Step 2
A similar, but slightly less contrasting result will be obtained if you apply the Hue / Saturation option to color the image. Select color 704214 as your foreground color and insert an adjustment layer over the open photo. Apply the Hue / Saturation option for this, which can be found in the New Adjustment Layer group of the Layer menu. Turn on the Colorize option in the preferences window.
Step 3
You can color the image in sepia color using a gradient map. To do this, apply an adjustment layer to the image opened in the editor using the Gradient Map option from the New Adjustment Layer group. Click on the gradient strip that opens and adjust the transition from white to sepia. The image colored in this way will become more contrasting if you superimpose an adjustment layer on the image in the Color mode.
Step 4
Using the Photo Filter option, you can get a sepia effect on a photo that was previously converted to black and white. To do this, use the Desaturate option in the Adjustments group of the Image menu or switch the image to grayscale mode using the Grayscale option in the Mode group of the same menu. The image converted to Grayscale will need to be returned to RGB mode using the Mode group option.
Step 5
Use the Photo Filter New Adjustment Layer option to create an adjustment layer. Select Sepia from the Filter list and enable the Preserve Luminosity option in the settings. Adjust the Density parameter to change the degree to which the effect is applied.
Step 6
Save the colored snapshot with the Save As option of the File menu.


