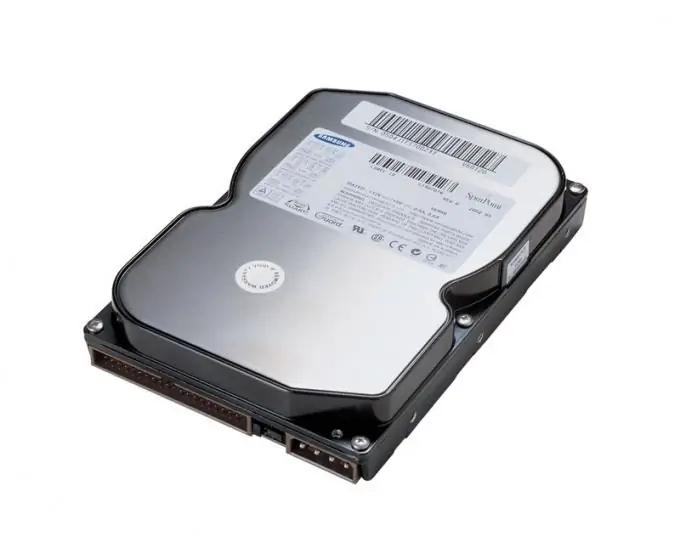
Despite the fact that IDE hard drives are gradually becoming a thing of the past, they are still in demand among owners of older computers who have run out of space to store videos, music or games.

Necessary
IDE cable, 3-4 screws, screwdriver
Instructions
Step 1
Before installing a hard drive, decide whether it will stand alone on a loop or paired with another device. If there is one, then nothing needs to be done, but if in a pair, it is necessary to correctly place the jumpers located near the connectors on both devices. One device should be the master (Master), the other secondary (Slave). If this is not done, the computer will not initialize them. How to set the jumpers is shown on the hard drive itself.
Step 2
Install the hard drive into the hard drive bay. Try to place it in such a way that it is not close to the other hard drive, otherwise they will both get warm. They need some free space to cool. Fasten it with three or four screws so that the hard drive is secured and does not dangle.
Step 3
The IDE cable has three connectors. One of them plugs into the motherboard (IDE Channel 1 or 2 on the motherboard). There is a key on the connector in the middle so as not to insert the ribbon cable the other way. The other end of the cable is inserted into the corresponding connector on the hard drive. There is a colored stripe on one edge of the ribbon cable, with this contact the ribbon cable should be directed to the power connector. Another device can be connected to the middle connector of the loop, or you can leave it free. It is better to install a new hard drive on a separate ribbon cable or in a pair with another hard drive. It is worth putting it together with an optical drive only if there is no other way out.
Step 4
Now connect the power connector to the hard drive. It also has a key in the form of beveled corners at the top, so it is very difficult to confuse which side to insert it. Now turn on the computer - the new hard drive should be detected automatically.


