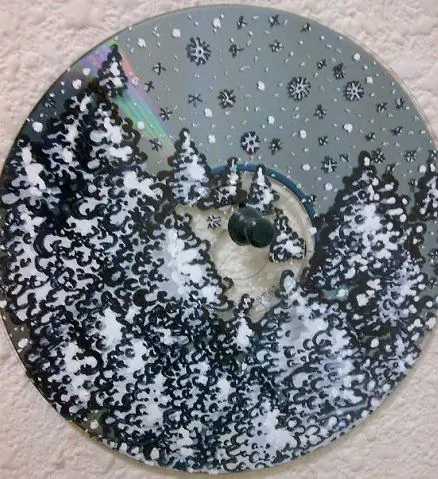
Often on the Internet, users ask questions that are related to the design of pictures on disks. This is not difficult to do. In order to put a drawing on a disc, you will need a special disc and the LightScribe System Software driver. With the help of the picture, you can designate the disc, make it more attractive.

Necessary
Personal computer, LightScribe System Software
Instructions
Step 1
Take a simple disc and insert it into the drive. Start the Nero program. There select "Burn Label". It will be possible to apply either text or a picture. This editor is an exact copy of Nero CoverDesigner. The drawing will be done around the edges of the disc. In order for the pattern to cover the entire disc, you need to take a special blank.
Step 2
Download LightScribe System Software to your computer. Go to the control panel of the program called LightScribe Control Panel. In the "Contrast Settings" section, set the radio button to This will make your labels darker, but you will experience a longer label time. This will help increase the contrast. Click "Ok". You may also need Nero CoverDesigner.
Step 3
Very handy and affordable LightScribe program. Any pattern can be applied with this application. Insert the disc upside down, that is, matte side down. After recording, turn the disc over and close the pattern tray. You can select pattern and text templates in LightScribe Simple Labeler. Launch LightScribe Simple Labeler. Enter your label text. Choose a font.
Step 4
You can pick up the edging. Click on the template you like. Select the drive. If you need to make copies, specify the number you want to receive. Click the "Next" button. The program will offer you to see an approximate view of your disc, which will turn out after applying the image. If something doesn't suit you, go back and redo it. If you are satisfied with everything, click Apply Label.
Step 5
Can work with LightScribe Template Labeler. Run it. Insert the disc into the drive. In the “Template” column select the pattern you like. Click Next. Choose the size and location of the picture. All this you can do in the "Select Font" and "Select Alignment" tabs. Choose the color of the image in the "Select your disc" column. If you need copies of such a disc, please indicate the required number. If you have specified all the parameters, click "Print". Wait for the end of the operation. The disc is ready.


