A CD-ROM is an optical disc with information on it that cannot be rewritten. This is how the abbreviation CD-ROM stands for Compact Disc Read-Only Memory. Connecting it consists in placing the disc in a CD reader installed in the computer. However, very often the name of the CD-ROM refers to the reader itself. Connecting it to a computer is a slightly more complicated process.

Instructions
Step 1
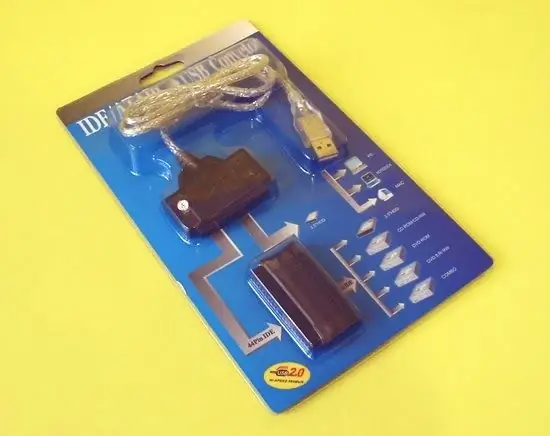
Purchase a dedicated IDE / ATAPI-USB converter if you need to quickly connect your CD-ROM drive to your desktop or laptop computer from time to time. Structurally, it is made like a regular connecting cord, on one end of which there is a USB connector, and on the other there is a very wide special connector. You will need to insert this connector into the slots on the back of the CD-ROM drive. It is designed in such a way that it overlaps two slots at once - the one that serves to connect the power bus, and the one that provides data exchange via the IDE / ATAPI interface.
Step 2
Connect the second connector of the device to the USB port of the computer, and the system will recognize the CD-ROM drive. The indicator on the wide connector will light up and you can operate the external optical disc drive.
Step 3
If you need to permanently connect the CD-ROM drive and install it in the system unit, then start the procedure by turning off the computer and disconnecting it from the network. Position the case so that you have easy access to both side surfaces.
Step 4
Remove the left and right panels of the system unit by unscrewing two screws that connect them to the rear surface of the case. The standard tower is designed for top bays for 5-inch enclosures - prepare one for installation. You need to remove the plastic cover on the front panel opposite this compartment.
Step 5
Install the CD-ROM into the prepared compartment, adjust its position relative to the front panel of the system unit and fix it with four screws - two on the left and right sides of the system unit chassis.
Step 6
Insert one of the free connectors on the power cable into the corresponding slot on the back of the optical drive. Then use the IDE ribbon cable to connect the CD-ROM to the connector on the system board.
Step 7
Close the system unit, replace the disconnected wires on the back panel, and turn on the computer. After booting the system, it must recognize the new device and install a driver for it from its own database. If it doesn't, install it manually using the software supplied with the CD-ROM drive, or by downloading it from the manufacturer's website on the Internet.


