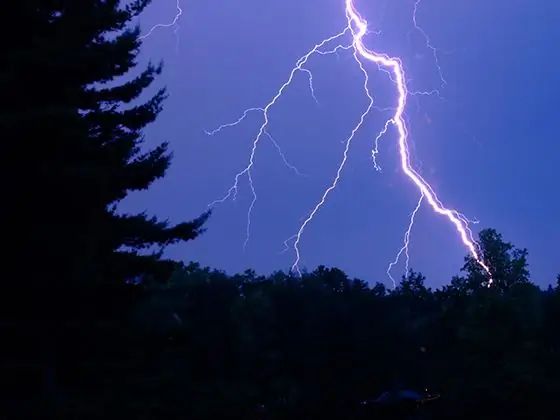
Despite the fact that Adobe Photoshop is aimed at professionals, anyone can use it. For most people, it is attractive because seemingly complex things are done quite easily in it. A large set of filters lets you create stunning effects in just a few minutes. So, it is not difficult to make lightning, rain or sun glare in Photoshop.

Necessary
Graphic editor Adobe Photoshop
Instructions
Step 1
Create a new image. Select "File" and "New" from the menu, or press the keyboard shortcut Ctrl + N. In the dialog that appears, in the "Width" and "Height" fields, specify the values 800 and 600, respectively. In the "Color Mode" drop-down list, select the "RGB Color" item. From the "Background Contents" drop-down list, select "Transparent".
Step 2
Set the foreground and background colors. Click on the rectangle representing the foreground color. In the "Color Picker (Foreground Color)" dialog that appears, select white. Click on the rectangle representing the background color. In the "Color Picker (Background Color)" dialog select black. The rectangles for the foreground and background colors are in the toolbar at the bottom.
Step 3
Fill the entire image area with white. To do this, select the "Paint Bucket Tool" and click anywhere on the image.
Step 4
Apply the "Clouds" filter to the entire image. Select the menu items "Filter", "Render", "Clouds".
Step 5
Apply the "Difference Clouds" filter to the entire image twice. Click the menu items "Filter", "Render", "Difference Clouds". Repeat this action.
Step 6
Improve the clarity of the image. This can be done by applying the "Sharpen More" filter. The filter is activated when you select the menu items "Filter", "Sharpen", "Sharpen More".
Step 7
Colorize the image. Select the menu items "Image", "Adjustments", "Hue / Saturation", or press the key combination Ctrl + U. In the "Hue / Saturation" dialog that opens, check the "Colorize" checkbox. Move the "Hue" slider until you get the desired lightning hue. Move the "Lightness" slider to set the desired illumination. Move the "Saturation" slider until you get the desired saturation of the image.
Step 8
Save the resulting image. Press Ctrl + S, or select "File" and "Save…" from the menu. In the "Save As" dialog specify the desired name, save path and image file format.


