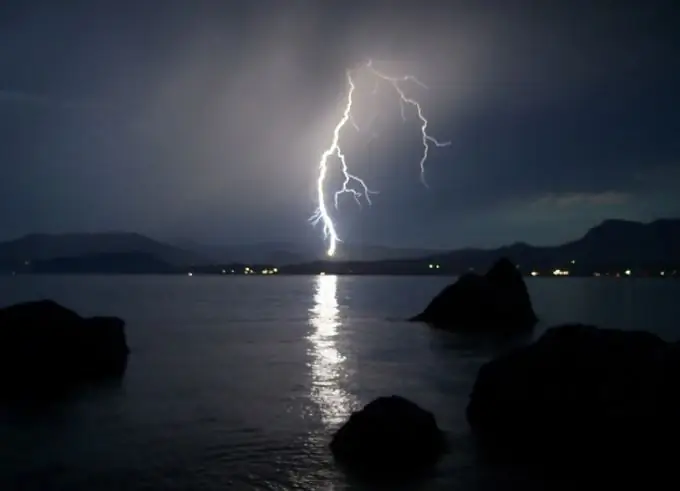
If you want to make a thunderstorm collage, you need a lightning bolt image. You can search for a photo on the Internet, or you can try to depict lightning using Adobe Photoshop.

Instructions
Step 1
Open an image with a cloudy sky. You can turn a cheerful landscape into a stormy one. To do this, use the Curves command in the Image menu under Adjustments. Curving the line down, you get a darkened gloomy drawing.
Step 2
Create a new layer by clicking Create a new layer in the layers panel. Create a narrow rectangular selection on it from sky to ground. Check the Gradient on the toolbar and select black to white on the property bar. Drag a gradient line from right to left inside the selection.
Step 3
From the Filter menu in the Render group, select Difference Clouds. A black curved line appears in the middle of the rectangle. To make it white and bright, apply an invert Ctrl + I to the layer.
Step 4
The lightning needs to be made clearer and brighter. From the Image menu under Adjustments, select the Levels option. Move the black and gray sliders to the right so that the white stripe stands out brightly against the black background. Apply the Screen blending mode to the layer - the black background will not be visible against the background of the stormy sky.
Step 5
Real lightning has a bluish tint. In the Adjustments section, open the Hue / Saturation command. Check the box next to Colorize and adjust the sliders until the lightning is the desired electrical color. Remove the blurred areas around the lightning bolt tools Erase ("Eraser") or Burn Tool ("Darkening"). Select the Dodge Tool ("Lightening") and lighten the area in the sky where the lightning is striking.
Step 6
Lightning is usually branched. Select a section on it and copy it to a new layer with Ctrl + J. Free transform the layer with Ctrl + T, change the position and size of the area and drag it to a new place, creating a branch. Repeat the operation several times. Merge the lightning layers with Ctrl + E.
Step 7
If the thunderstorm is over the water surface, it should have a reflection. Duplicate the lightning layer and apply a free transform to the copy. Right-click inside the selection and choose Flip Vertical. Again bring up the dropdown menu by right clicking and check Distort. By moving the control knots, change the lightning to look like it is on the water. Apply a Gaussian blur to the layer so that you get a light path.


