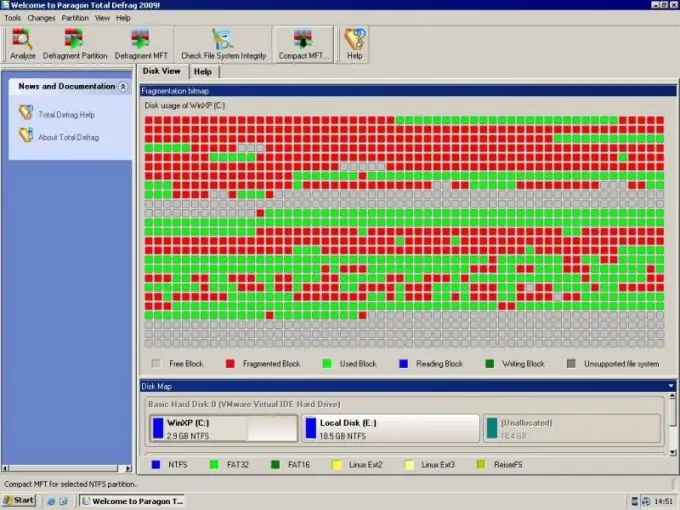
A service procedure for defragmenting the contents of a hard disk is available among the standard Windows operating system maintenance tools. Using the Disk Management utility, you can perform a one-time defragmentation, as well as set a schedule according to which this procedure will start automatically.

Instructions
Step 1
Start the Disk Management utility. This program can be found in the "Computer Management" link to which is in the context menu of the shortcut "My Computer", as well as in the "Control Panel" of the "Start" menu. The program belongs to the standard options of the operating system, so there is no need to install it yourself.
Step 2
Select the partition that needs defragmentation. It is believed that defragmentation should be carried out from time to time on each partition of the hard drive. Click on the section area with the right mouse button and select the bottom item "Properties". Find the "Tools" tab - this is where defragmentation controls are located.
Step 3
Click on the "Defragment" button. The Disk Defragmenter Wizard will start. Click on the "Disk Analysis" button for the program to diagnose the section on the need for the procedure. Then right-click on the "Disk Defragmenter" item. Allocate enough time for the operation, as depending on the state of the partition, this can take anywhere from one to several hours.
Step 4
To set a special schedule for the defragmentation procedure, click the "Configure schedule" button. Check the box next to the "Run on schedule" item and configure the utility launch parameters - date, day of the week and time.
Step 5
There are service programs that are designed to optimally perform the defragmentation procedure - Auslogics Disk Defrag, Ashampoo Magical Defrag, Piriform Defraggler and others. However, the standard Windows utility is sufficient for the needs of the average user. When downloading additional software from the Internet, check all files with antivirus utilities to avoid virus infection.


