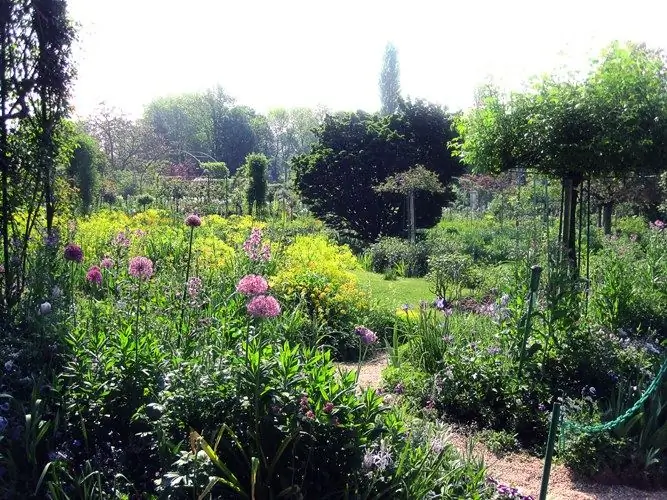
The quality of the pictures depends mainly on the technical characteristics of the camera and on the level of illumination of the subject. Fortunately, many shooting errors - noise, blurry edges, too dark background, etc. - can be eliminated using Adobe Photoshop.

Instructions
Step 1
Open the image and make a copy of it with the keyboard shortcut Ctrl + C.
Step 2
Take a close look at the picture - you will notice the fuzzy contours and insufficient lighting. Open the Image menu, then Adjustments and Levels. Move the black color to the right and the white to the left to create a more dramatic picture.
Step 3
Duplicate this layer with Ctrl + J. In the same Adjustments list of the Image menu, select the new Photo Filter command. In this case, the most suitable Warming Filter (85). For each specific shot you need to select a filter.
Step 4
Now we need to get rid of the blurred edges. Duplicate the layer again. In the Filter menu, go to the Other group and find the High Pass tool. Set the Radius value so that the contours of the image are only slightly guessed. In this case, the radius is 5 pixels. Set the blending mode to Overlay and Opacity to 70%. Merge the layers by pressing Ctrl + E.
Step 5
If your photo is taken in low light, color and light noise can ruin your photo as a result. Adobe Photoshop has several tools with which you can suppress this noise. In the Filter menu in the Blur group ("Blur") select the Surface Blur tool ("Blur on the surface"). Choose Threshold and Radius so that the colored “snow” is blurred without damaging the main image.
Step 6
In the same group, there is a similar tool with similar settings: Smart Blur. In the viewport, you can see how the image changes when you change the Radius and Threshold parameters.
Step 7
In the Noise group, choose Reduce Noise. If you check the Advanced switch, you can remove noise in the color channels one at a time. This makes it possible to fine-tune the image.


