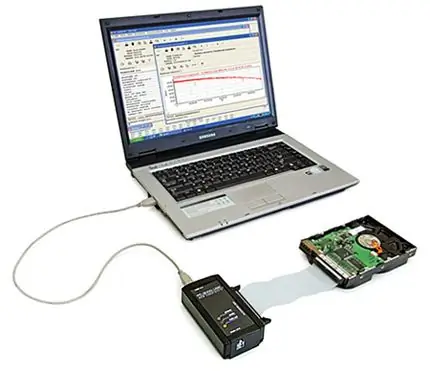
More and more often there are problems associated with the recovery of information from various damaged disks of a personal computer. To recover any information from your computer, you first need to install the appropriate software.

Necessary
- - computer;
- - USB drive;
- - UnDelete Plus program.
Instructions
Step 1
To solve this problem, you need the Undelete Plus program. It is distributed completely free of charge, so there should be no problems with the search. You can download it from the official website undeleteplus.com. There is practically no need to configure the utility, since the interface is simple, it will be understandable even for inexperienced users of a personal computer.
Step 2
Install Un Delete Plus to the system drive of the personal computer. Next, run the program. A small window will appear in front of you. For convenience, you can expand it to full screen. In the left window select the disks from which you want to recover information by ticking them. If you had information on a USB flash drive or recordable disk, then insert it into your computer and mark it in the program.
Step 3
Then click on the "start" button. For some time, the program will completely scan the disk space and add files that can be recovered to the list. It is also worth noting that this utility separates files according to the degree of recoverability. Files that can be recovered without problems are marked in green, files that can be recovered from
errors or a few failures during display or playback, red - critical files that cannot always be restored.
Step 4
As soon as the search process is over, select the files you need and save them to a separate disk or USB drive. It is important to know that the files need to be saved to a separate drive, and not to the one from which the recovery is performed. When selecting files, you can view each of them by double-clicking on the file name.
Step 5
If all parameters of the information are intact, the program will correctly display the file, and if there are any errors, then some distortions may occur when playing music or viewing a picture.


