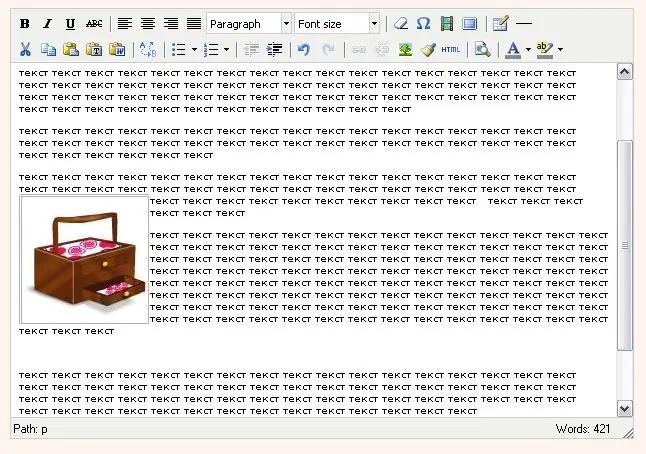
When creating or editing texts on the site, it is often necessary to insert an image into a line. This allows you to make the article more attractive and informative. On sites operating on content management systems (CMS), there is a visual text editor, with which you can add both text and graphic information to the pages of your resource.

Necessary
- - access to the site control panel;
- - visual editor;
- - TinyMice editor.
Instructions
Step 1
Go to the site's administrative control panel and select the page you are going to edit. In some CMS, it is enough to click on the page name to open the visual editor, in other cases you need to tick the selected page and click on the Edit button.
Step 2
In the opened editor, click with the mouse in the place of the text where you are going to insert the picture. A blinking pipe cursor should appear.
Step 3
In the upper panel of the visual editor, find the icon, when you hover over which, a tooltip "Insert image" will appear, and click on it. Usually such an icon is presented in the form of a picture with a tree.
Step 4
In a new window that opens, in the "Image parameters" tab to the right of the "Address" field (in some editions - URL), click on the button or the "View" icon, - a folder management window will open, in which all uploaded images for your site are saved by default. At the bottom of this window there are two buttons: "Browse" and "Download". Clicking "Browse", select a picture to download from your computer. Then click on the "Load" button - the selected picture should appear in the folder of saved images.
Step 5
Click on the new image that appears and click the "Insert" button. The picture should appear in the place of the text line where you originally placed the blinking cursor.
Step 6
If the image is too large and you want to make it smaller, then select the just inserted picture with the mouse and in the Image Options tab, find the Size line with two fields. The first field contains the width of the picture in pixels, the second - the height. By changing and varying these two parameters, achieve the desired result.


