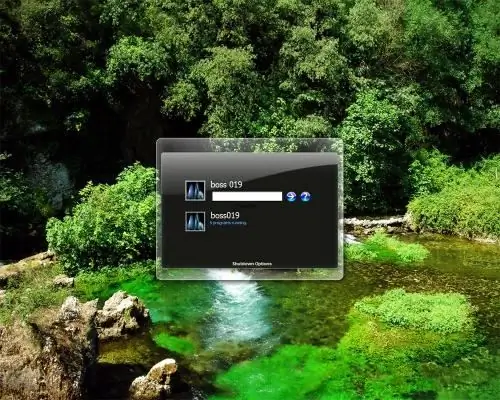
All users of the Windows operating system know that when starting the computer or changing the user, the system launches a welcome window, in which you can select the desired user from the list. There is always an icon next to the account name, which is selected by default from the list of graphical user icons in the Windows welcome window settings. If you do not like the icons offered by the system by default, and you have not found a suitable one among them, you can upload your own photo or any other image that will be displayed next to your account in the welcome window.

Instructions
Step 1
Open Start, then open Control Panel. In the control panel, select the "User Accounts" section. In the list that opens, click on the name of your user account - the account settings menu will open. In this menu, select the line "Change image".
Step 2
By clicking on the button, you will open a window with ready-made system icons. In addition to the proposed images, this window contains a button "View other images". Click on it to select a different picture as your personal icon. In the explorer window that opens, specify the path to the folder in which the required picture is located, and then, having selected the file, click "Open".
Step 3
Any picture is automatically adjusted by the system to the required icon size; if you want a separate fragment of a large picture to become an icon, cut it out in advance in any graphics editor. The user icon is 48 pixels in size.
Step 4
After clicking the "Open" button, you will see that your image has been added to the main list. Click on it and then click on the "Change Image" button.
Step 5
You can also change the custom image using the Registry, a more sophisticated method that is only suitable for advanced users. In the system registry, you will need the HKEYJXCALjtfACHlNESOFTWAREXMicrosoftWindowsCurrentVersionHints [username] registry entry, as well as the PictureSource registry entry that stores image information.


