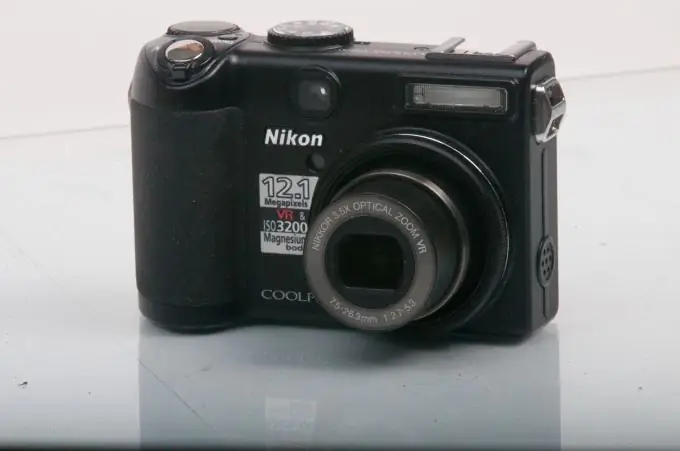
Digital cameras are increasingly entering our lives. They are lightweight and convenient, even the simplest of them allow you to get quite high-quality photos. But as the memory card fills up, the photographer faces the question of transferring photos to a computer.

Instructions
Step 1
Usually, the set with the camera comes with an installation disc with the necessary programs and drivers for this model. Installing a specialized program provides the user with many options for working with photographs. They can be cropped, resized, contrast, saturation, color gamut … But if further work with photos is not provided, launching a specialized program when transferring photos to a computer turns out to be quite inconvenient - in particular, it takes extra time.
Step 2
If you just need to transfer photos from the camera to your computer, try to do without installing programs from the installation disc. Connect the camera to the USB connector of the computer with the cord supplied with the camera. Then turn on the camera and wait a little - most likely, the operating system will automatically detect the new hardware. A dialog box will appear asking you to select the program with which you will work. Select "Scanner or Digital Camera Wizard" and select the "Always use the selected program" checkbox.
Step 3
After you have selected a program, its window will appear. Click "Next", a new window with thumbnails of photos will appear. At this stage, you can choose which photos to transfer and which not. The ones to be transferred are marked with check marks. If you want to transfer all the photos, just click the "Next" button.
Step 4
A new window will appear. Select the folder where you will transfer the photos and a name for this group of images. The name can be omitted, then all photos will have the same name - "Image" and differ by a serial number. Here you can also select the option to delete photos from the camera. This is quite convenient - after copying all the photos will be on the computer, the camera's memory card will be completely cleared.
Step 5
After selecting the necessary options, click "Next". The process of copying the photos and deleting the originals from the camera will begin, the time of this process depends on their number. After the end of copying and deleting, a new window will appear, you will be asked what to do with the photos and will be offered several options to choose from. Usually users leave the default - “Nothing. The work with these images is finished. " Click Next, then Finish. The standard image viewer will start and you will see the photos transferred to your computer.


