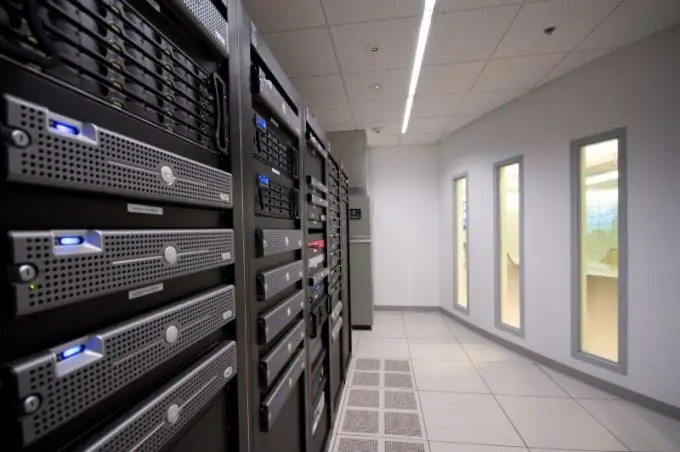
The terminal server provides clients with its computing resources to solve various problems. Technically, it is a powerful computer connected to clients through a network.

It is necessary
- - a computer;
- - patch UniversalTermsrvPatch.
Instructions
Step 1
To install the terminal server, use the universal patch for the Windows operating system UniversalTermsrvPatch. Run it and read the description, then click Next. In the next window, click "Yes". A window will appear asking you to restore the old files, click "Cancel". In the next window click "Yes". Restart the computer for the changes to the system to take effect to configure the terminal server.
Step 2
Add users to the server. To do this, click the Start button, select Settings, then go to Control Panel and select User Accounts. Create a user, in the post type select "Restricted Entry".
Step 3
Set the password in the properties. The name and password must be specified using Latin characters. Configure the login of system users by selecting both available checkboxes in the appropriate window and clicking Apply Settings.
Step 4
Modify the system properties to complete the terminal server installation. Right-click on the "My Computer" shortcut, select "Properties", go to the "Remote Sessions" tab and select the "Allow remote access to this computer" checkbox. Then click "Select Remote Users".
Step 5
Click the "Add" button, click "Advanced" in the window, select the "Search" option and mark the required users from the list, click "OK". In the next window, confirm your choice and "OK" again. Alternatively, you can add users using the "Administration" command in the control panel.
Step 6
Select "Computer Management", then "Utilities", "Users" and "User Properties". Then go to Group Memberships, click Add and select users.


