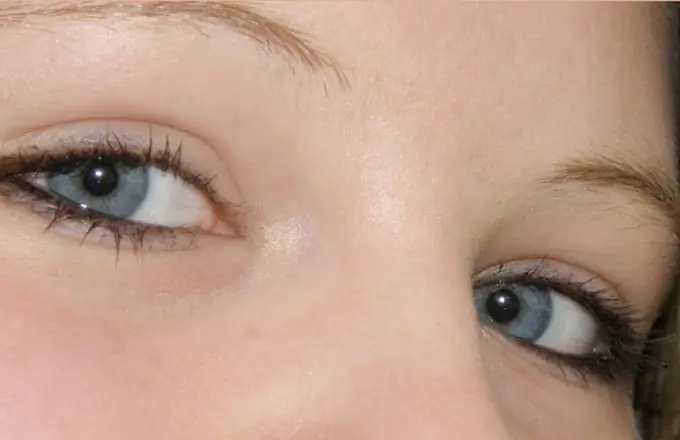
To remove puffiness under the eyes from the picture, use the special Photoshop tools: Healing Brush and Clone Stamp. The main problem that can arise during image processing is the disappearance of the area of shadows, without which the eyes will visually decrease, and the face will become flat. To prevent such a situation, it is worth taking out all the adjustment on a separate layer and adjusting its transparency.

It is necessary
- - Photoshop program;
- - the photo.
Instructions
Step 1
Use the Open option of the File menu to load the image to be retouched into a graphics editor. For photos with a low level of detail, a simple editing method using the Median filter is suitable. To remove bags under the eyes, turn on the Lasso tool and select the area that needs correction.
Step 2
Using the Layer via Copy option of the New group of the Layer menu, create a layer containing a copy of the selected areas of the photo. Open the filter settings with the Median option of the Noise group of the Filter menu and set the value of the Radius parameter, focusing on the change in the edited fragment.
Step 3
If the image has a noticeable border between the area with an anti-aliased color and the original image, erase the edges of the fragments processed by the filter using the Erazer tool. To create a smooth transition between the bottom and top layers, reduce the Hardness value in the tool options bar.
Step 4
For pictures with a high degree of detail, editing with the Median filter will not work, as it will significantly degrade their quality. To correctly process a photo with a well-defined skin texture, add a new layer over the image using the Layer option of the New group of the Layer menu.
Step 5
Turn on the Healing Brush tool with the Sample all layers option in the settings and, holding down the Alt key, select a fragment of even skin under the eye as the copy source. Release alt="Image" and close the narrow shadow cast by the swollen area with the copied pixels. For a realistic result, work with a small diameter brush and change the clone source several times.
Step 6
Apply retouching to the original photo in Lighten mode by selecting it from the list in the layers palette. Reduce the opacity of the adjusted layer by setting the Opacity to between fifty and eighty percent.
Step 7
Save the edited photo as a.jpg"


