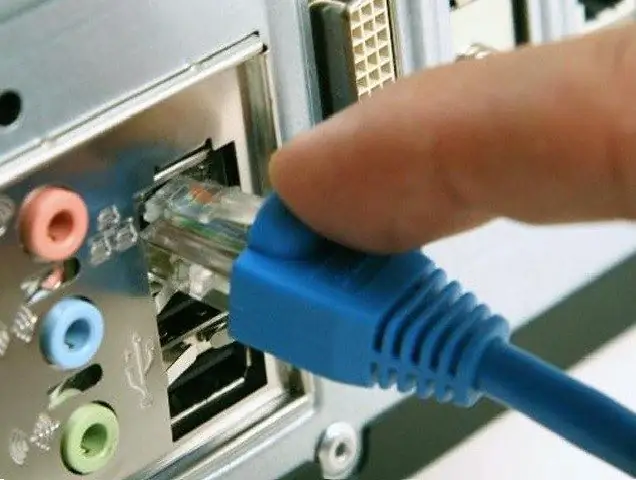
The reasons for using two or more network interfaces can be different. One of the most common uses for two network cards is to connect two networks using a network bridge.

It is necessary
- - a computer;
- - two network cards.
Instructions
Step 1
You have some need to connect two networks. For example, connect an additional subnet to the main network with Internet access. To implement this feature, you can use a switch or a computer with two network cards.
Step 2
Determine which of the existing network connections to which network will be connected. For example, Local Area Connection connects to Network 1 and Local Area Connection 2 connects to Network 2. Configure and test the connections one at a time.
Step 3
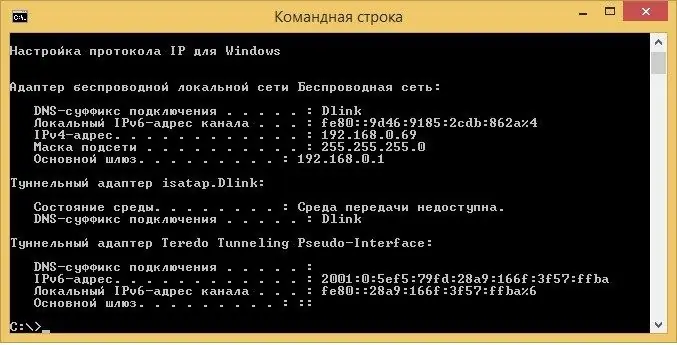
If a DHCP server is running on the main network, then leave the Local Area Connections settings unchanged. In this case, the IP address will be assigned automatically. If there is no DHCP server, then fill in the required configuration fields manually. Check the functionality of this connection. Menu "Start - Run - cmd". In the window that appears, run the command: ipconfig. As a result, you will see the assigned: IP address, subnet mask, gateway and DNS server.

Step 4
Disable Local Area Connection and proceed to configure Local Area Connections 2. Use static addresses as an experiment. For example: IP address (192.168.0.15), subnet mask (255.255.255.0), gateway (192.168.0.1). On Local Area Connection 2, right-click and select Properties. Go to "Internet Protocol (TCP / IP)" and click "properties". In the window that appears, select "Use the following IP address:", enter our configuration and confirm with the "Ok" buttons. Check if the connection works.
Step 5
Make both connections active and select them. Open the context menu and select "Bridge Connection". Wait for the end of the configuration process. Open the properties of the created network bridge, where select "Internet Protocol TCP / IP" and enter the configuration data from "Step 4", but specify the next free IP address, in our case it is 192.168.0.16. Confirm the configuration with the "OK" button. As a result, you get two networks connected by two network cards.


