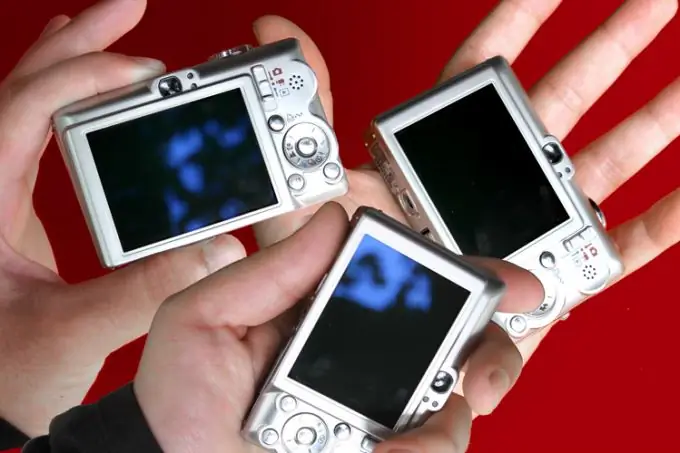
You can transfer pictures from the camera to one of the computer disks using a memory card reader. Another way to move photo files is to connect the camera itself to the computer, which will be recognized by the system as an external hard drive.

It is necessary
- - camera;
- - user manual attached to the camera;
- - card reader;
- - memory card;
- - USB-mini USB cable.
Instructions
Step 1
Pictures taken with a digital camera should be uploaded from time to time from the camera's memory to one of the computer disks. This will give you the opportunity to look at the photos, select the best shots and, if necessary, process the photo using a graphic editor. If the camera you are using is saving images to a memory card, open the compartment that contains it and remove the card.
Step 2
Insert the removed memory card into the card reader slot for the type of cards used in your camera. If the device has several connectors, you can identify the desired slot by the inscription above it.
Step 3
Connect the card reader to the computer via the USB connector. If you do not have the cable that came with the card reader, you can replace it with the USB-mini USB cable from the kit that you purchased with the camera.
Step 4
The connected memory card will be recognized by the operating system as one of the external hard drives. Open this drive in Explorer and select the folder where you saved the snapshots. Select files with photos with the mouse or with the Ctrl + A keys. You can use the "Select All" option of the "Edit" menu of the Explorer.
Step 5
Copy the selected photos by pressing Ctrl + C or the "Copy" option of the context menu. You can apply the "Copy" option from the "Edit" menu.
Step 6
Choose among the existing ones or create a new folder in which the pictures will be located. Paste photos into it using the Ctrl + V keys, the "Paste" option from the context menu or the "Edit" menu of the explorer. You can drag the selected files with the mouse from the window of one folder to another. Delete the copies of the images from the memory card using the “Delete” option from the context menu or by pressing the Delete key.
Step 7
By installing the device driver from the disk supplied with the camera, you can copy pictures from the camera without removing the card. Connect the camera to your computer using a USB-mini USB cable.
Step 8
Copy the files with pictures from the camera, which after connection will be visible in the explorer as an external drive.


